Create a project
To start reviewing a dataset with ASReview LAB, you first need to create a project. The project will contain your dataset, settings, labeling decisions, and machine learning models. You can choose from three different project types: Oracle, Validation, and Simulation. The project setup consists of 4 steps: Project information, Data, Model, and Warm up. The sections below explain each of the steps of the setup.
To create a project:
Go to the Projects dashboard if you are not already there (http://localhost:5000/projects)
Click on the Create button on the bottom left
Project information
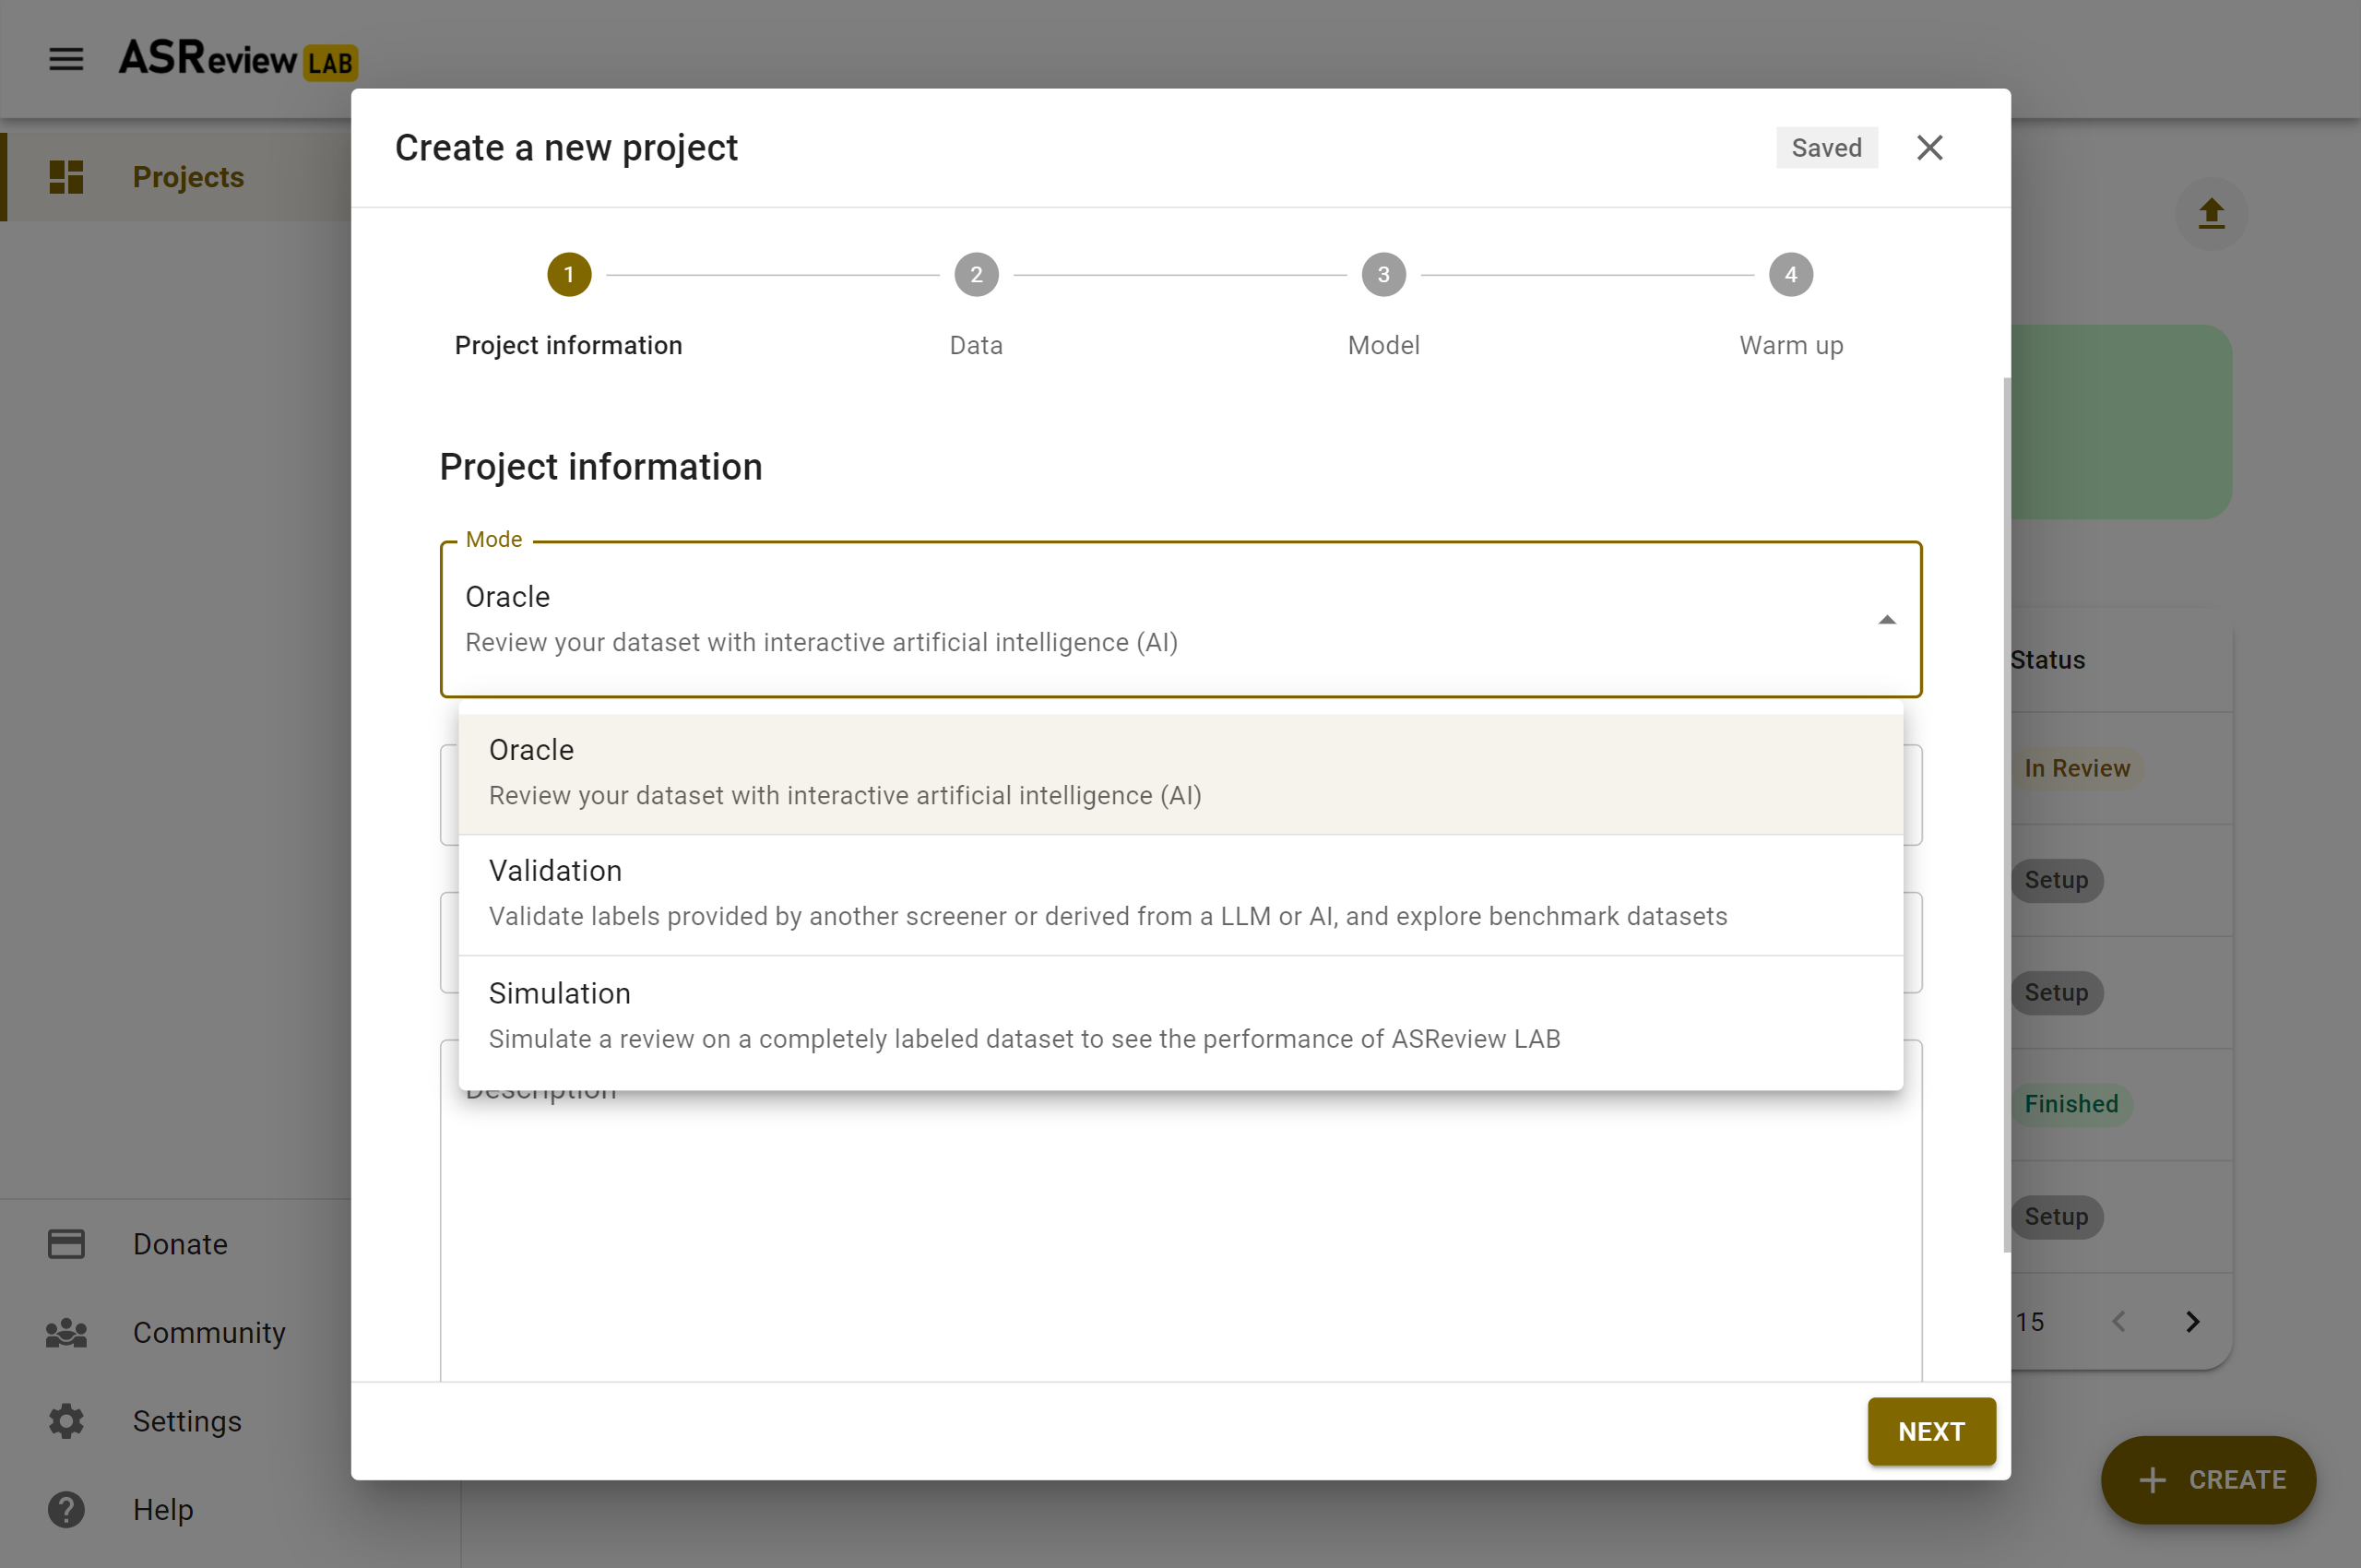
In Step 1, you provide all relevant information about your project as well as the type of project you want (the mode). The sections below provide more information on the input fields. After you complete this step, click next.
Project modes
In this step, you have to select a mode. The default is Oracle. For a description of all modi, see Fully, partially, and unlabeled data. In short, if you want to:
screen a dataset from scratch -> Oracle mode with unlabeled data;
continue screening, for example using a different model -> Oracle mode with partly labeled data;
validate labels provided by a another screener or predicted by a Large Language Model (e.g., ChatGPT) -> Validation mode with partly or fully labeled data;
learn how the software with active learning works -> Validation mode with fully labeled data;
mimic the screening process in a simulation study -> Simulation mode with fully labeled data.
Project details
Provide project details like name of the project (required), author(s) (for example, the name of the screener), and a description. You can edit these values later in the Details page.
Data and Prior Knowledge
In Step 2, you import a dataset and select prior knowledge.
Add dataset
Click on Add to select a dataset. The data needs to adhere to a specific format. Keep in mind that in Oracle mode, your dataset is unlabeled or Partially labeled data; in Validation mode Partially labeled data or fully labeled; and for Simulation mode, you need Fully labeled data.
Tip
You will benefit most from what active learning has to offer with High-quality data.
Depending on the Project mode, you are offered different options for adding a dataset:
From File
Drag and drop your file or select your file. Click on Save on the top right.
Note
After adding your dataset, ASReview LAB shows the approximate number of duplicates. This number is based on duplicate titles and abstracts and if available, on the Digital Object Identifier (DOI). Removing duplicates can be done via ASReview Datatools, which also allows using a persistent identifier (PID) other than DOI for identifying and removing duplicates.
From URL or DOI
Insert a URL to a dataset. For example, use a URL from this dataset repository. It is also possible to provide a DOI to a data repository (supported for many data repositories via Datahugger). In a DOI points to multiple files, select the file you want to use (e.g. 10.17605/OSF.IO/WDZH5).
Click on Add to add the dataset.
From Extension
Select a file available via an extension (Oracle and Validation only). Click on Save on the top right.
Benchmark Datasets
Select one of the Benchmark datasets (Simulation and Validation only). Click on Save on the top right.
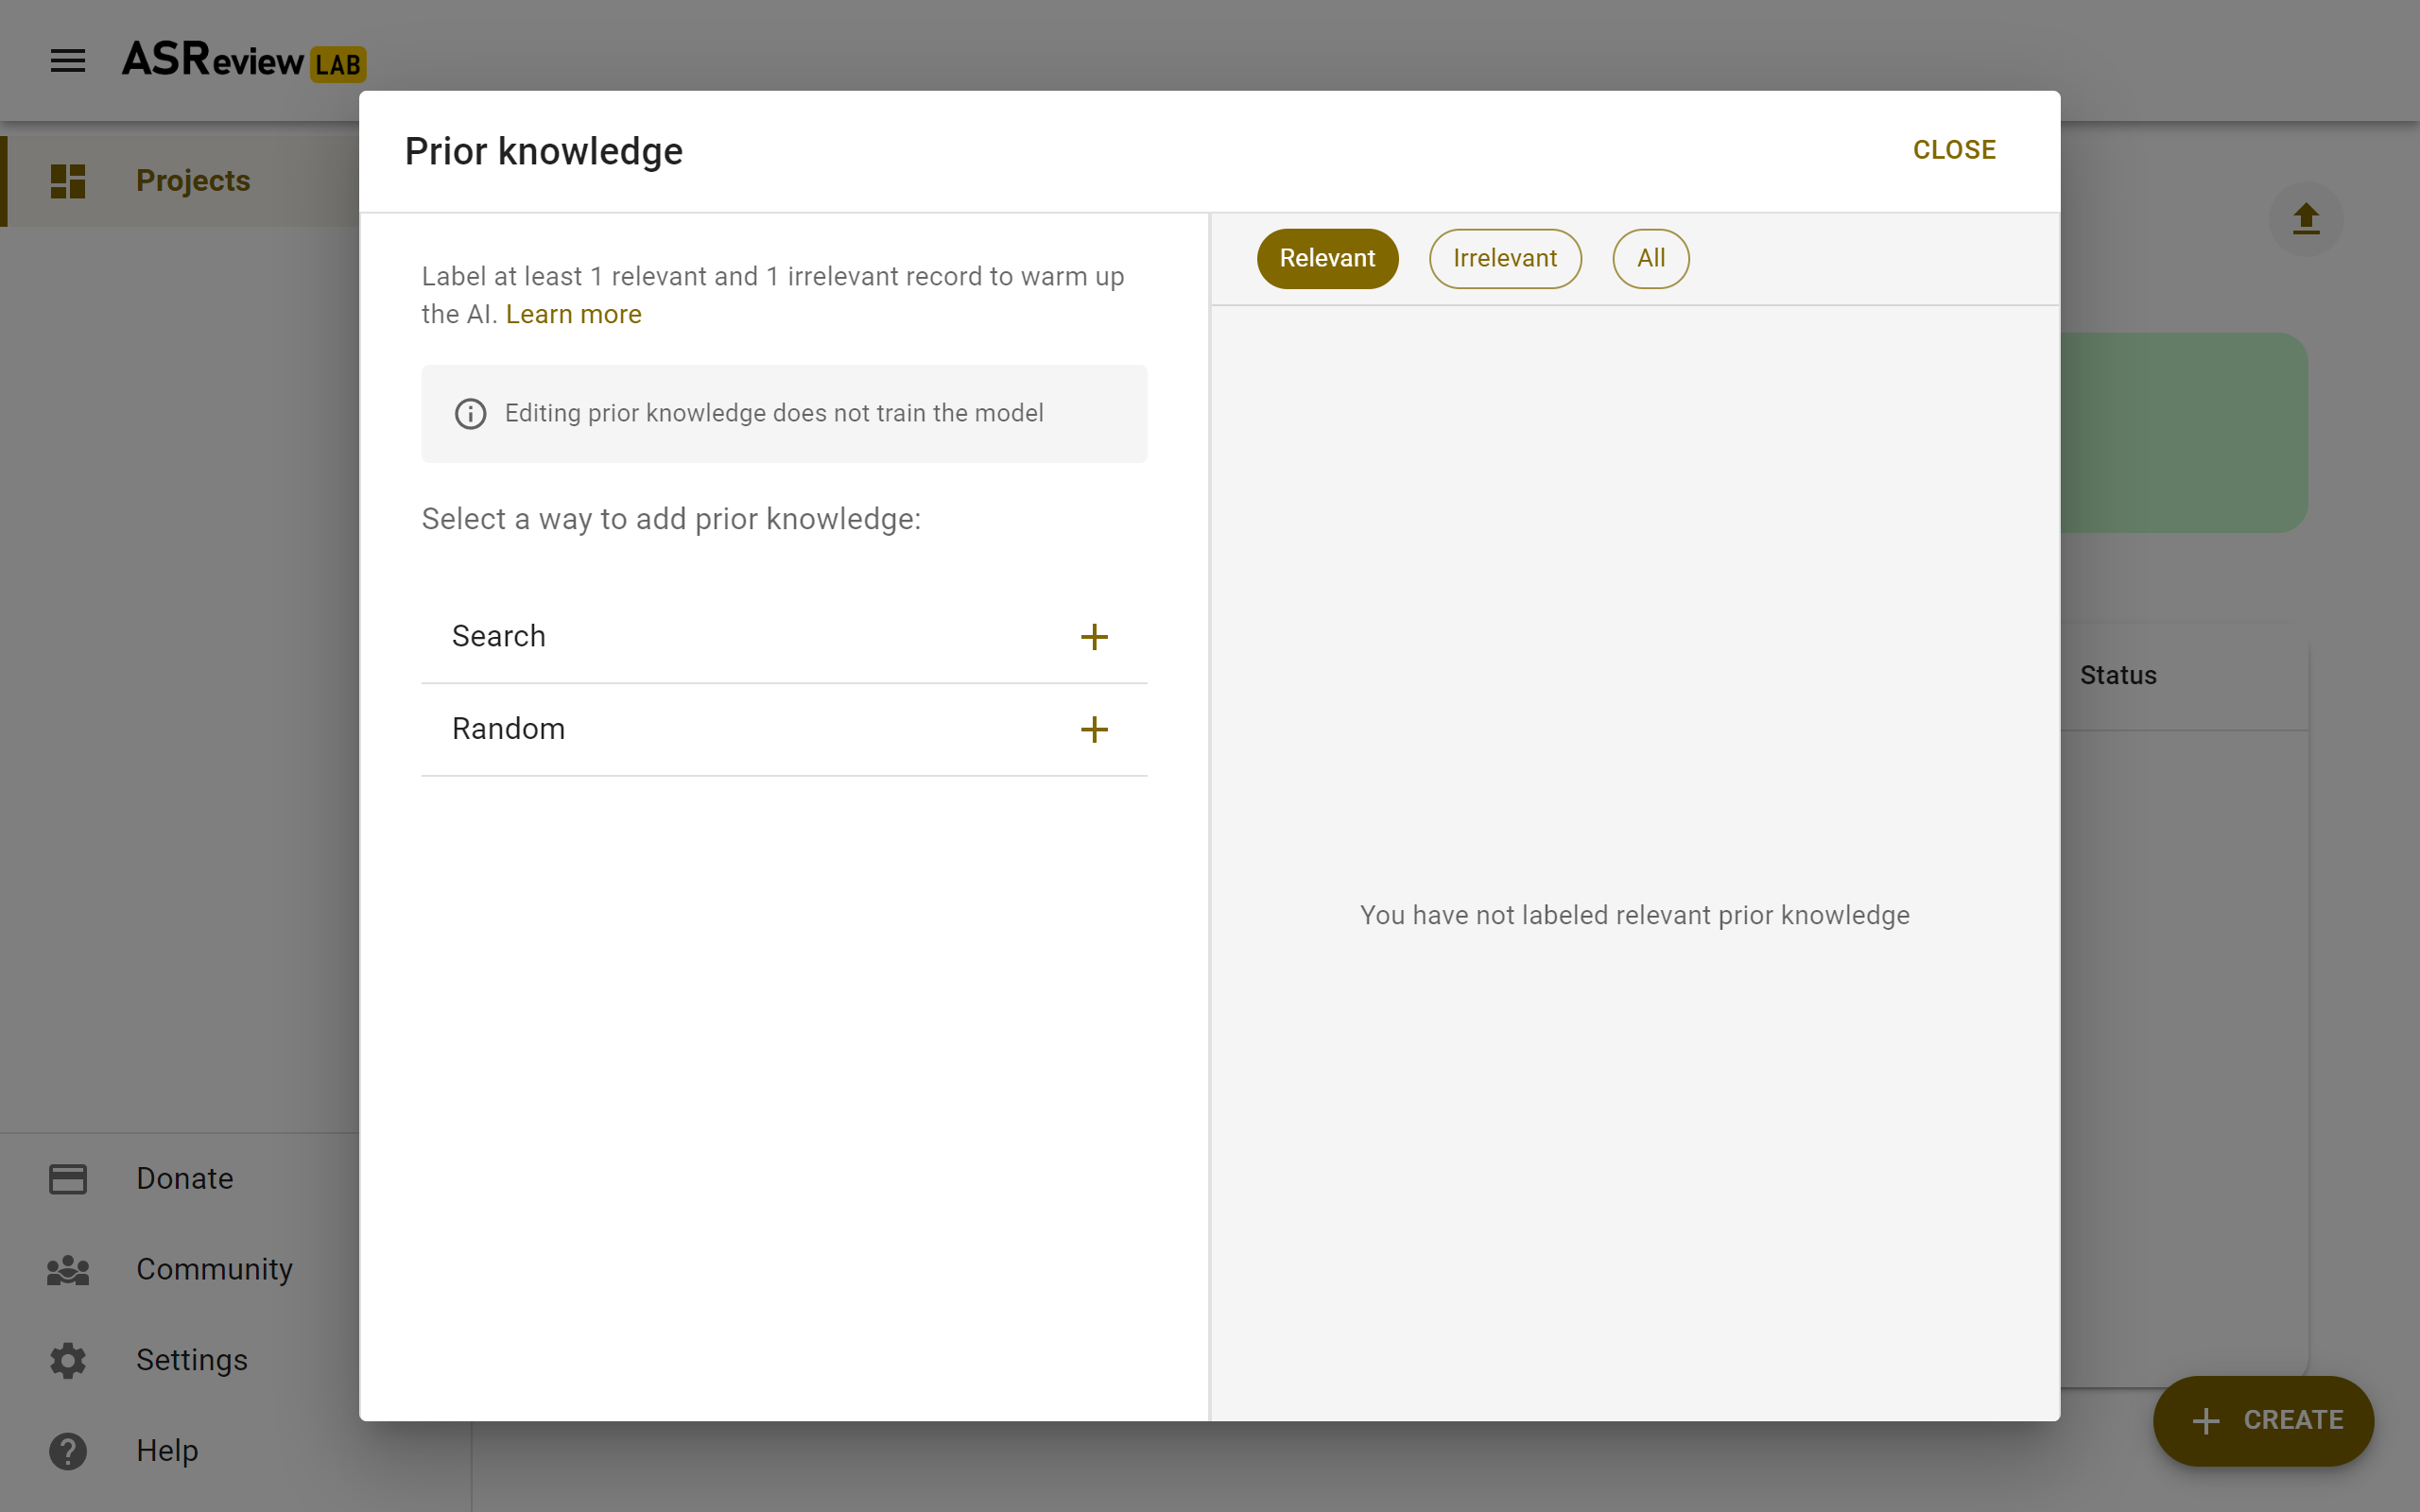
Prior Knowledge
The first iteration of the active learning cycle requires training data, referred to as prior knowledge. This knowledge is used by the classifier to create an initial ranking of the unseen records. In this step, you need to provide a minimum training data set of size two, with at least one relevant and one irrelevant labeled record.
Note
If you use Partially labeled data in the Oracle mode, you can skip this step, because the labels available in the dataset are used for training the first iteration of the model.
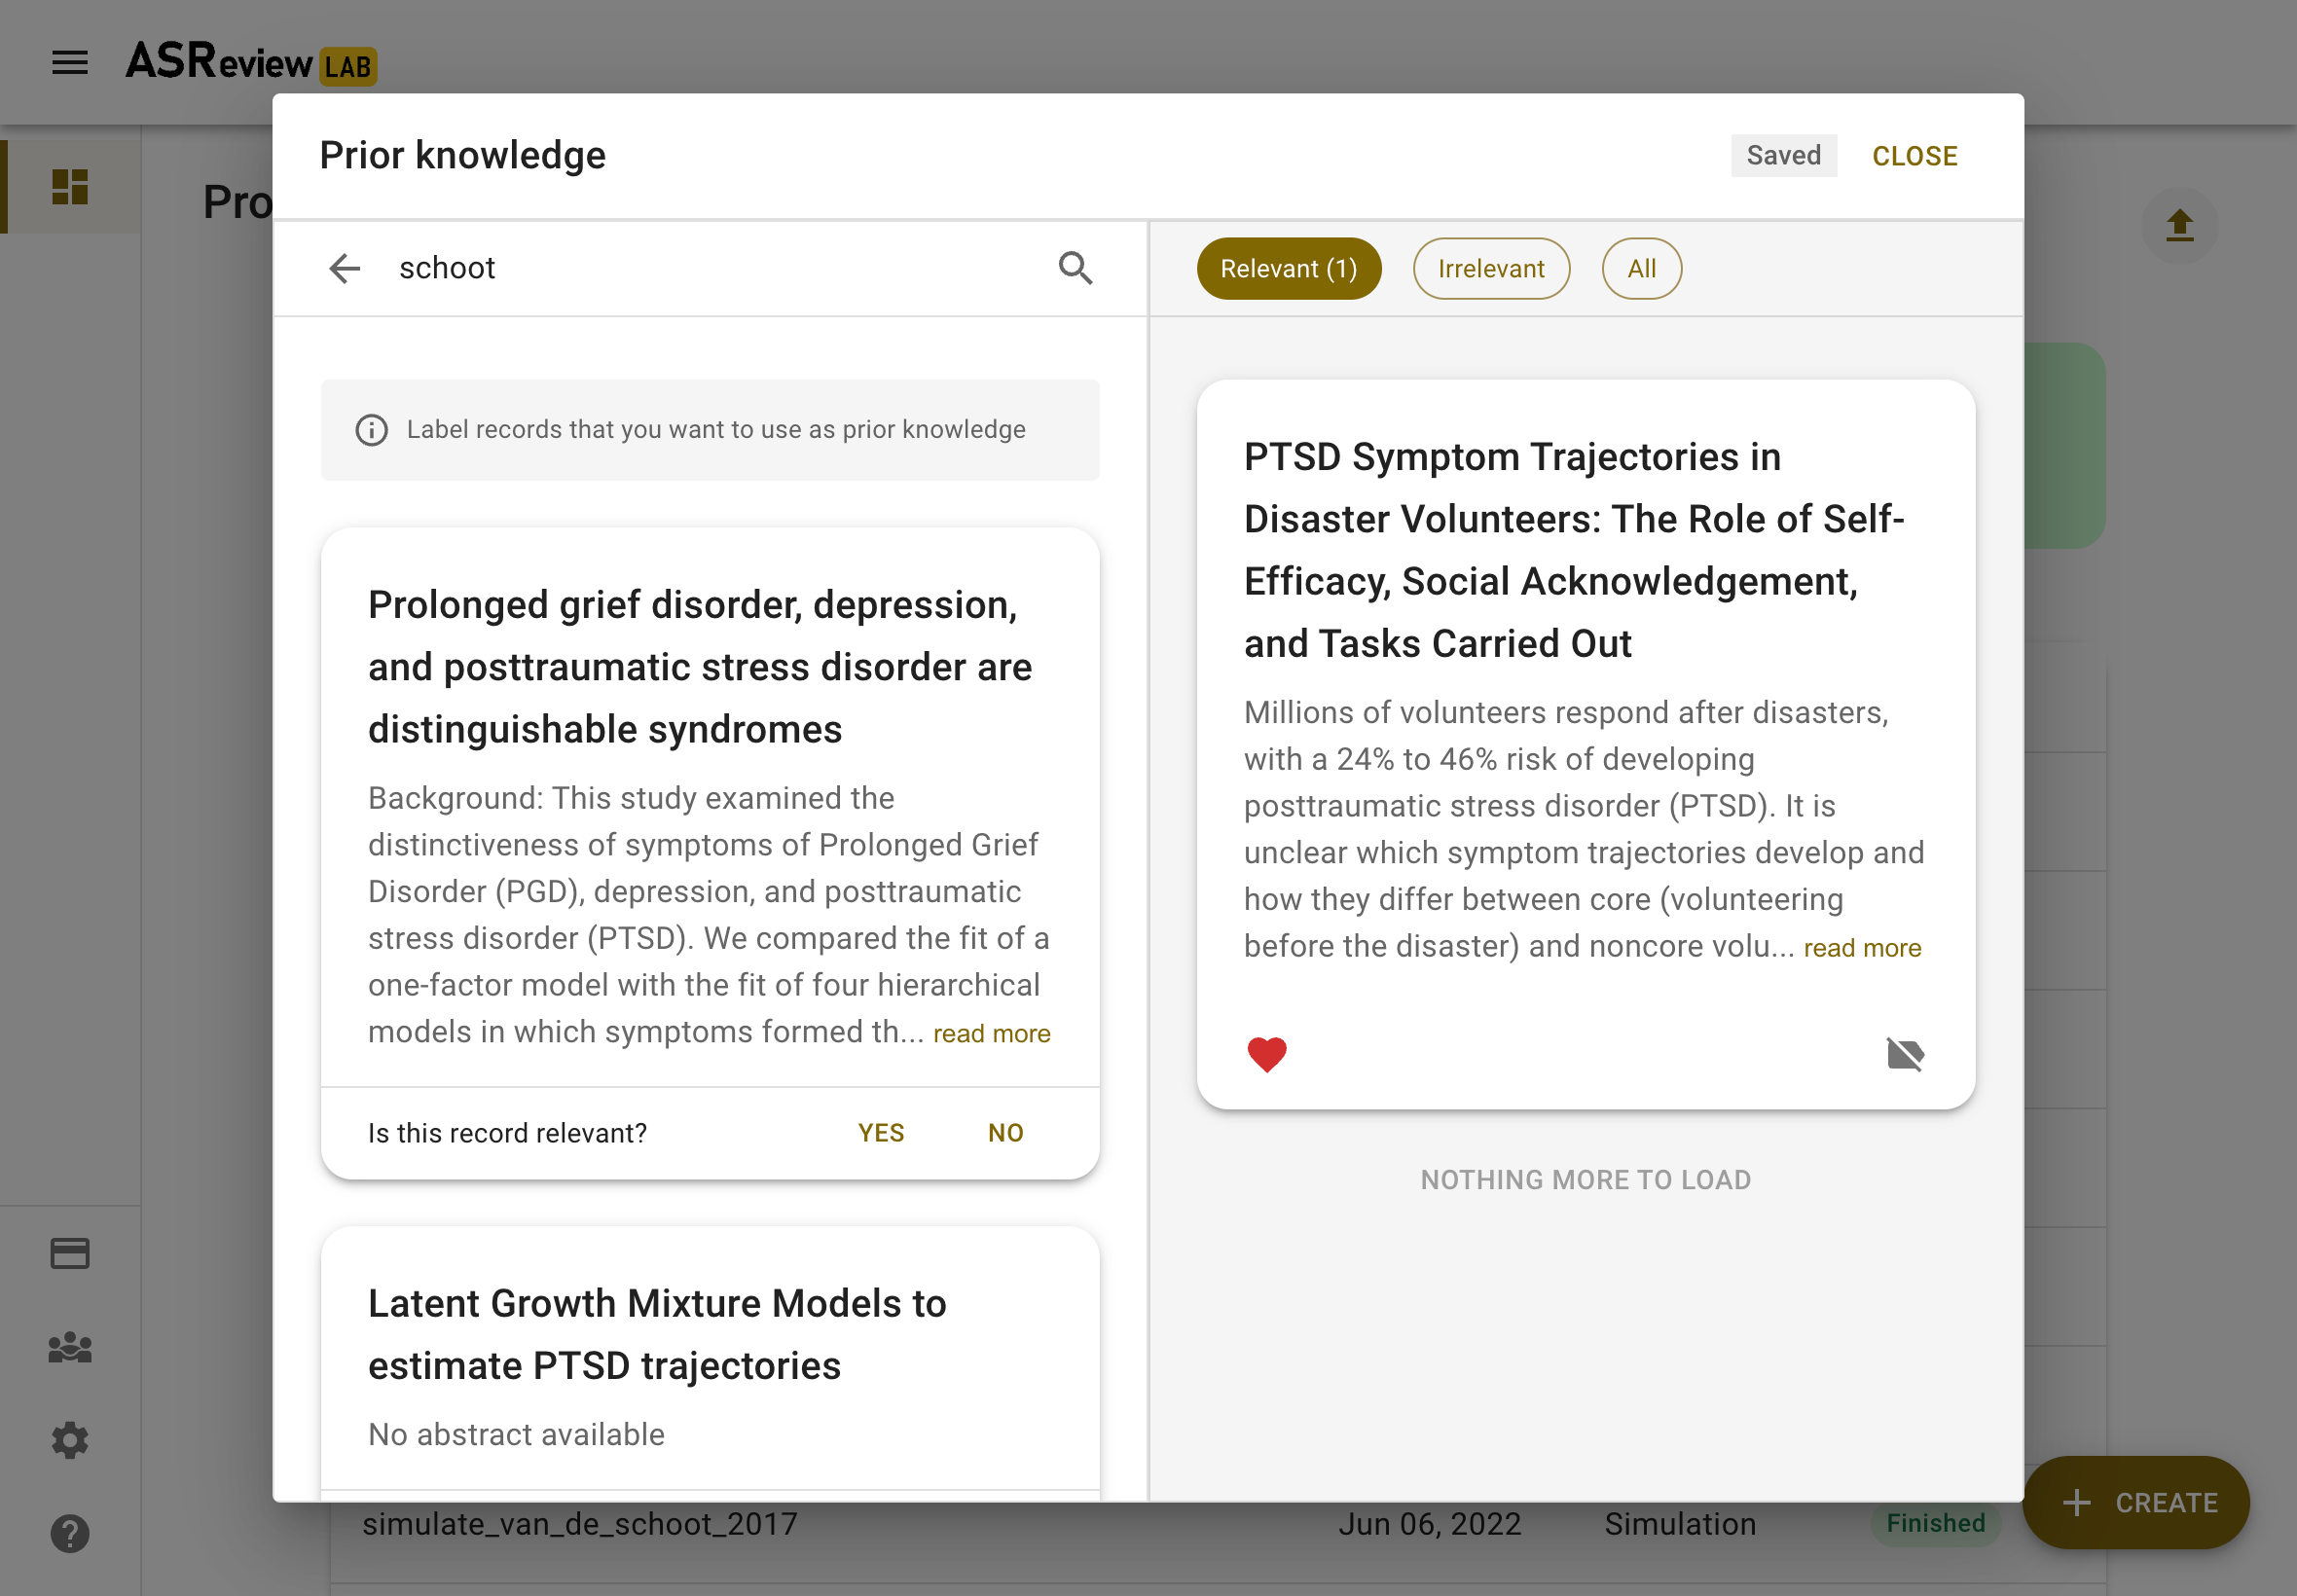
To facilitate prior selection, it is possible to search within your dataset, or . This is especially useful for finding records that are relevant based on previous studies or expert consensus.
You can also let ASReview LAB present you with random records. This can be useful for finding irrelevant records.
The interface works as follows; on the left, you will see methods to find records to use as prior knowledge, on the right, you will see your selected prior knowledge. If you have at least one relevant and one irrelevant record, you can click Close and go to the next step.
Search
Let’s start with finding a prior relevant document. The most efficient way to do this is by searching for a specific document that you already know is relevant. Click on Search and search your dataset by authors, keywords or title, or a combination thereof. Make sure to be precise with the search terms, as only the first 10 results are shown to you. After entering your search terms, press enter to start searching.
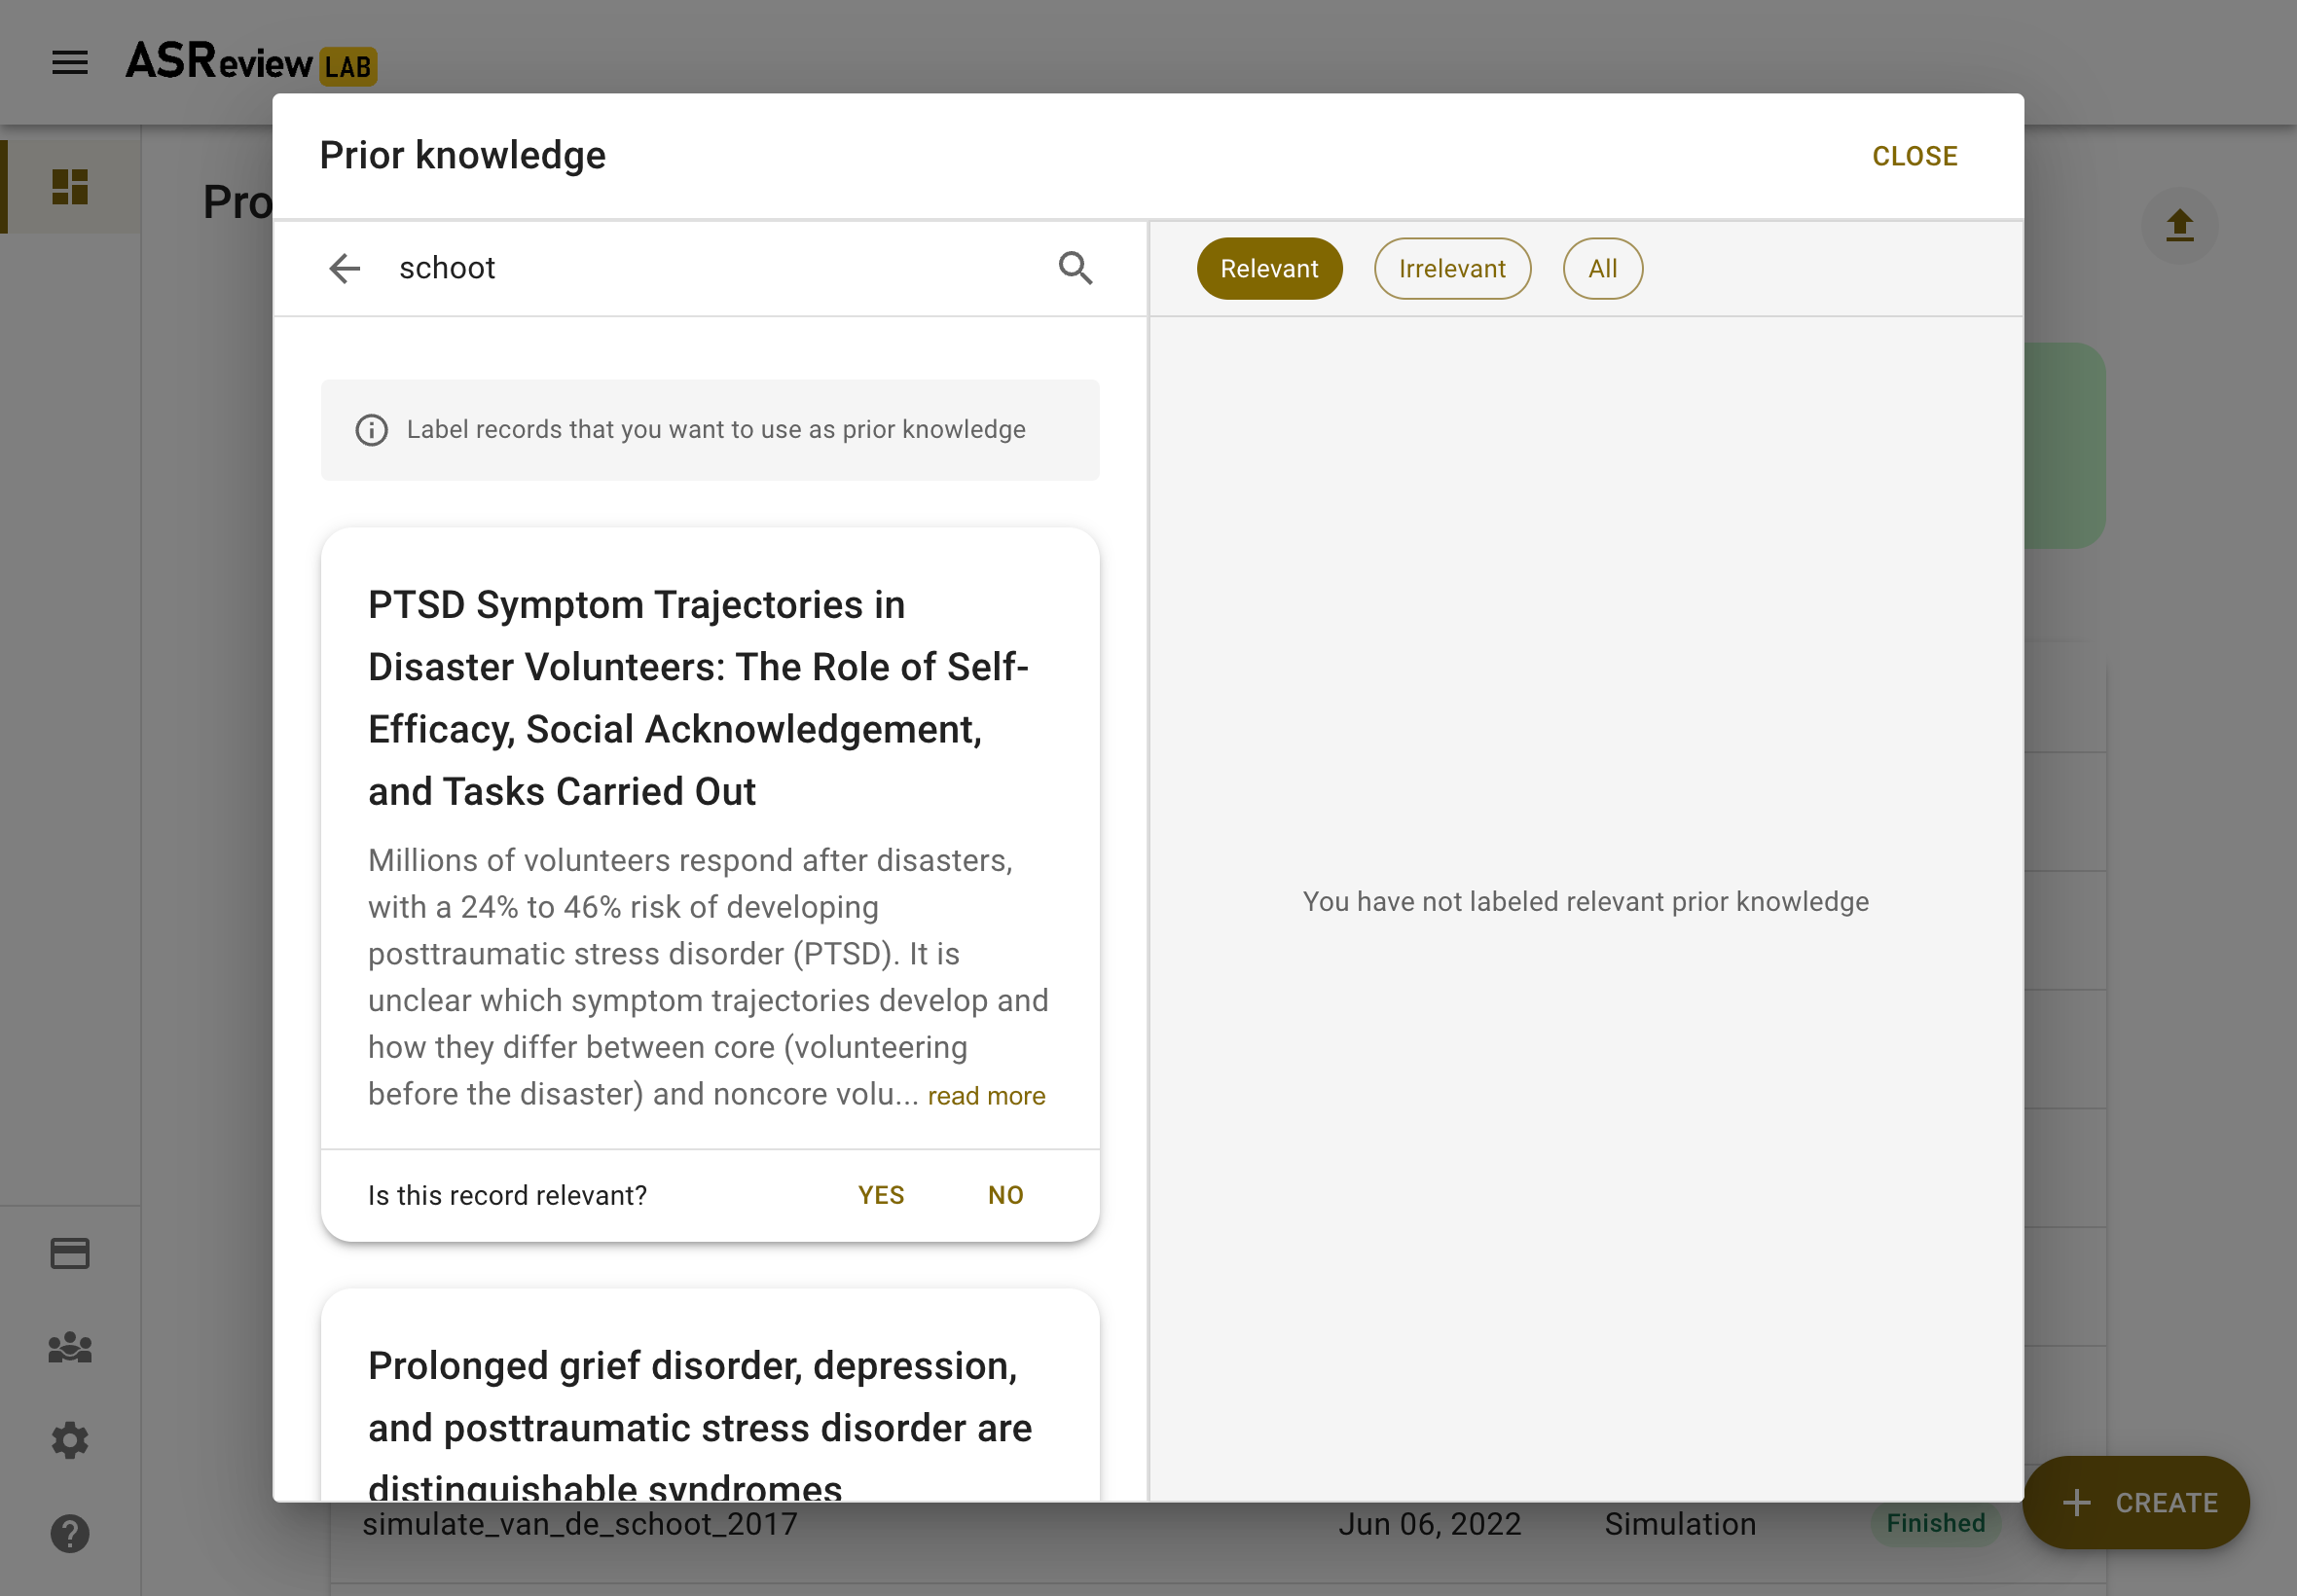
Click the document you had in mind and answer, “Is this record relevant?”. Note, don’t label all items here. Only the one you are looking for and want to use as training data.
The prior knowledge will now show up on the right. There are no restrictions on the number of records and the software already works with 2 labels (1 relevant and 1 irrelevant).
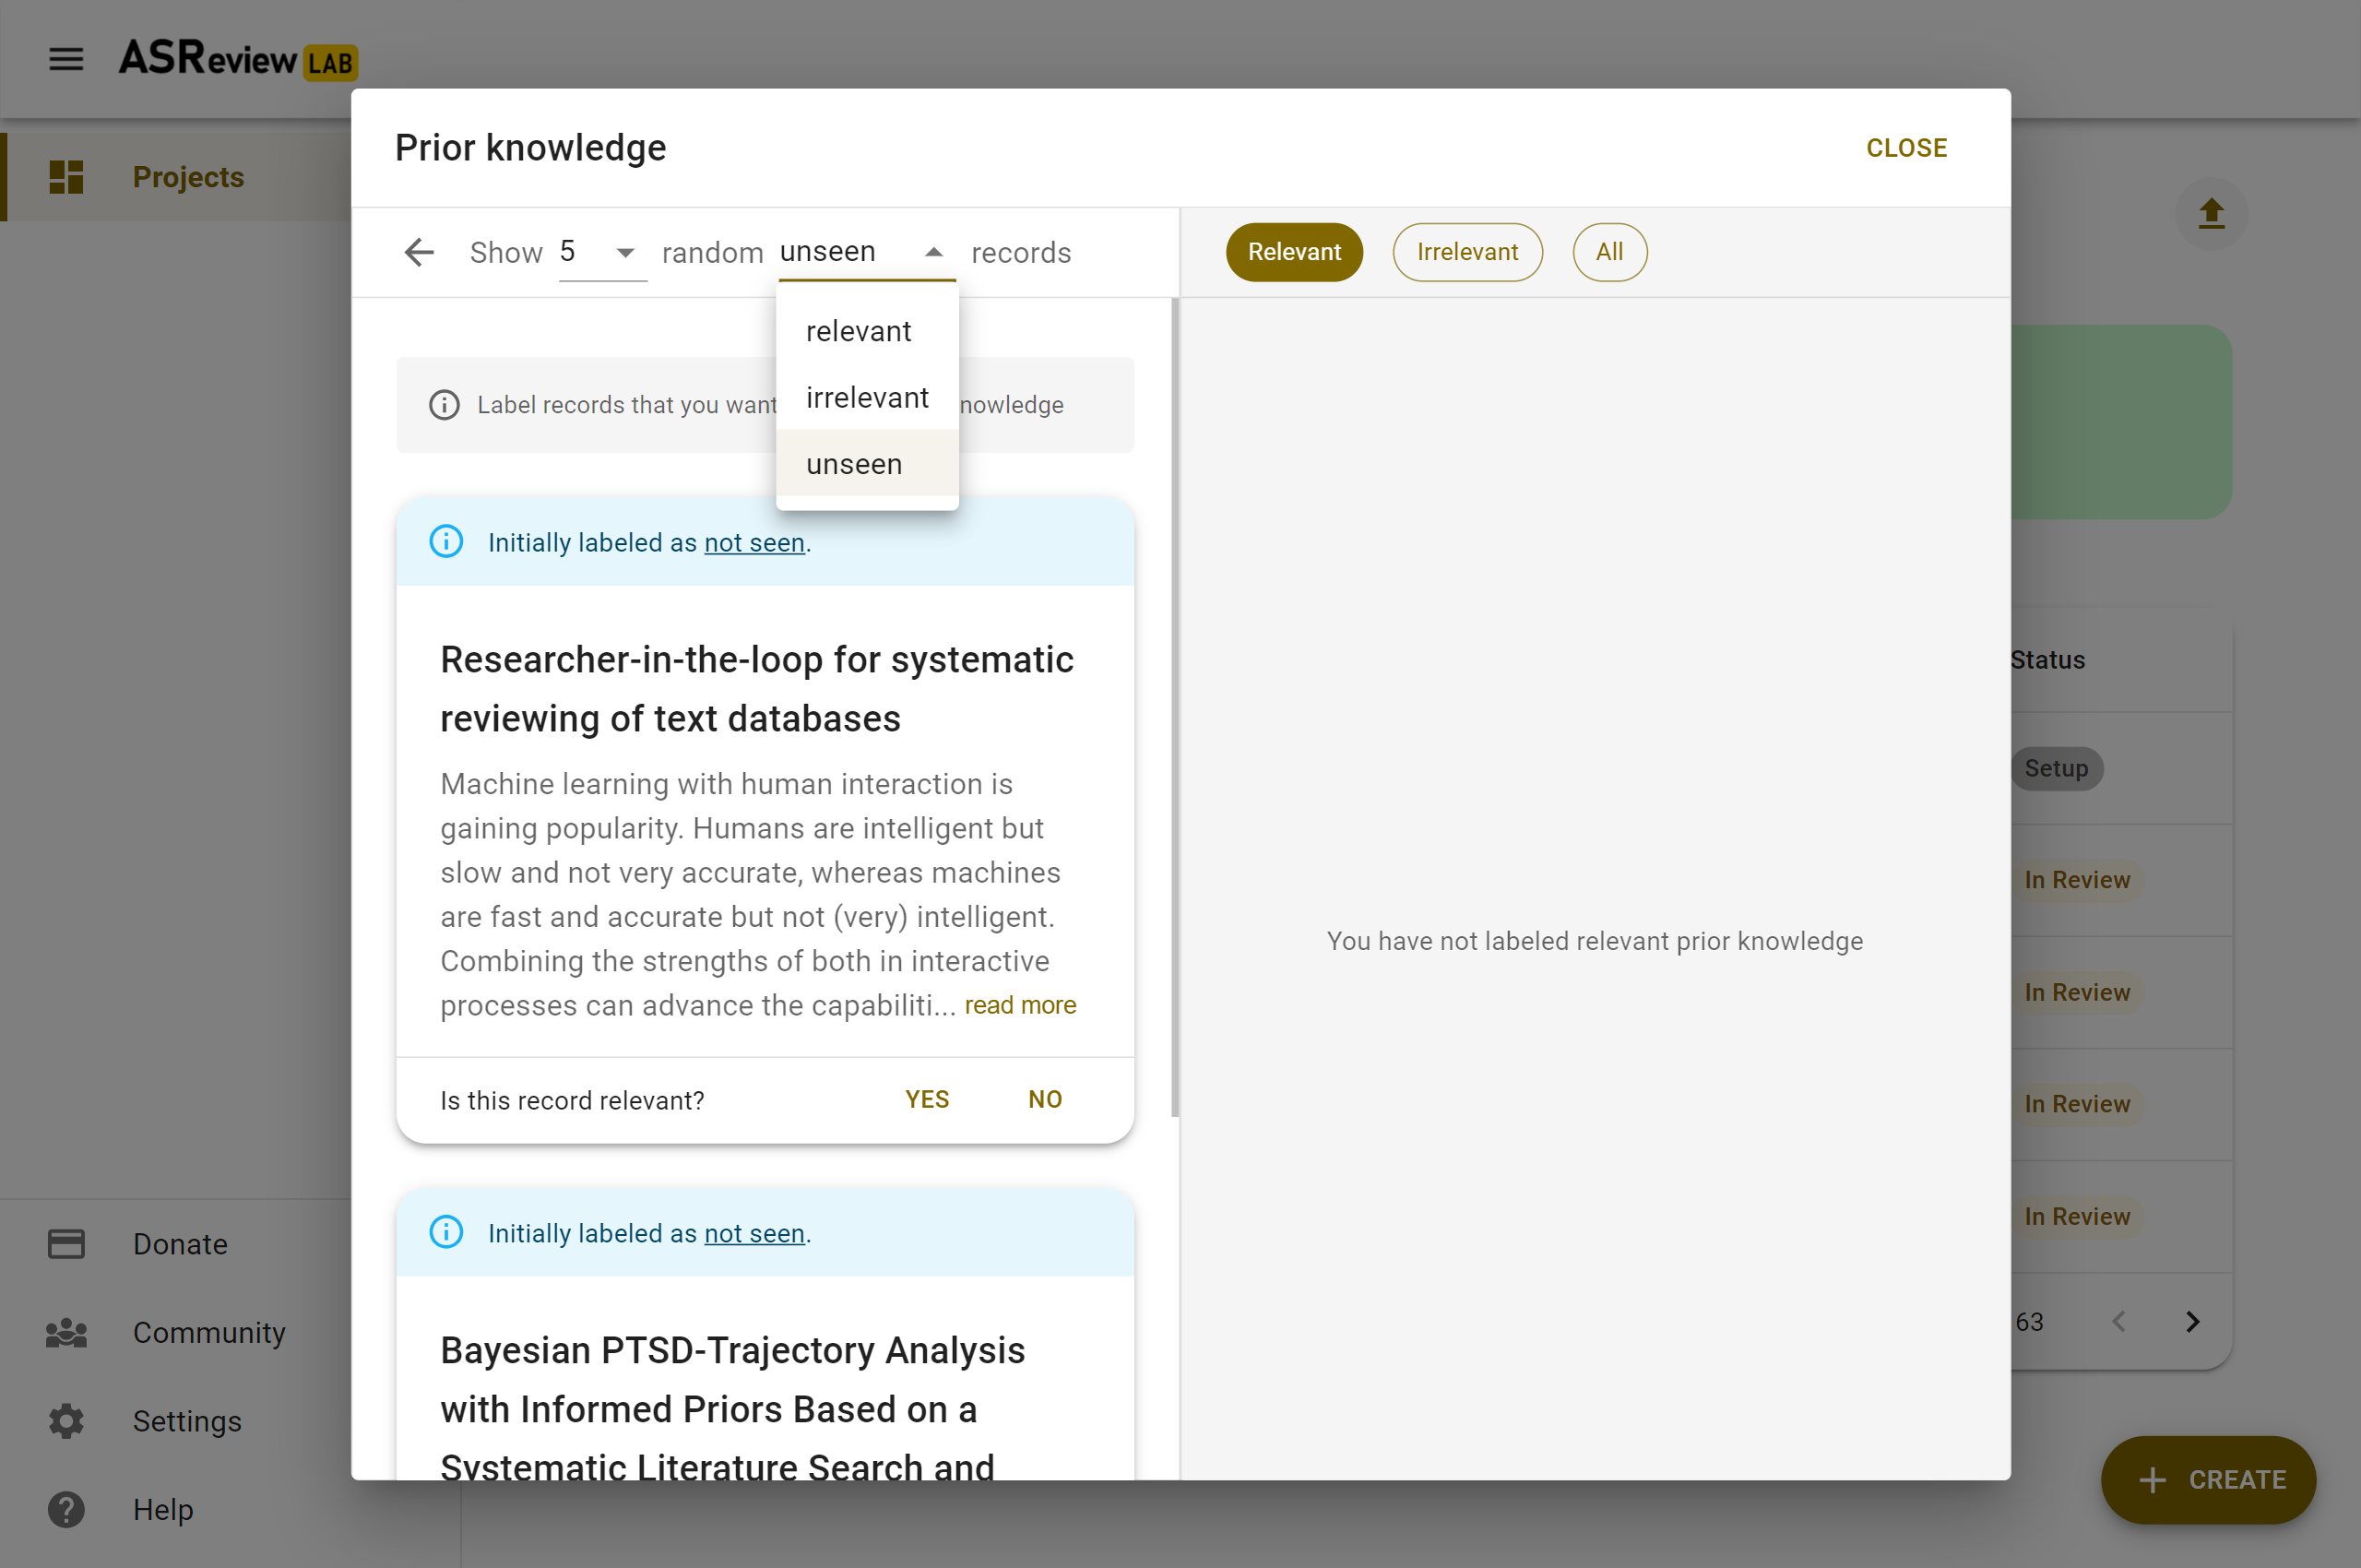
The prior knowledge will now show up on the right. Use the buttons to see all prior knowledge or a subset. You can also change the label or remove the record from the training set. There are no restrictions on the number of records you provide, and the software already works with 2 labeled records (1 relevant and 1 irrelevant). After labeling five randomly selected records, ASReview LAB will ask you whether you want to stop searching prior knowledge. Click on STOP and click Next.
Inspect the records to be used for training the first iteration of the model, and if you are done, click Close.
Random
Warning
Do not use the random option to search for the sparse relevant records!
You also need to provide at least one prior irrelevant document. One way to find an irrelevant document is by labeling a set of random records from the dataset. Given that the majority of records in the dataset are irrelevant (extremely imbalanced data problem), the records presented here are likely to be irrelevant for your study. Click on random to show a few random records. Indicate for each record you want to use as training data whether it is irrelevant (or relevant).
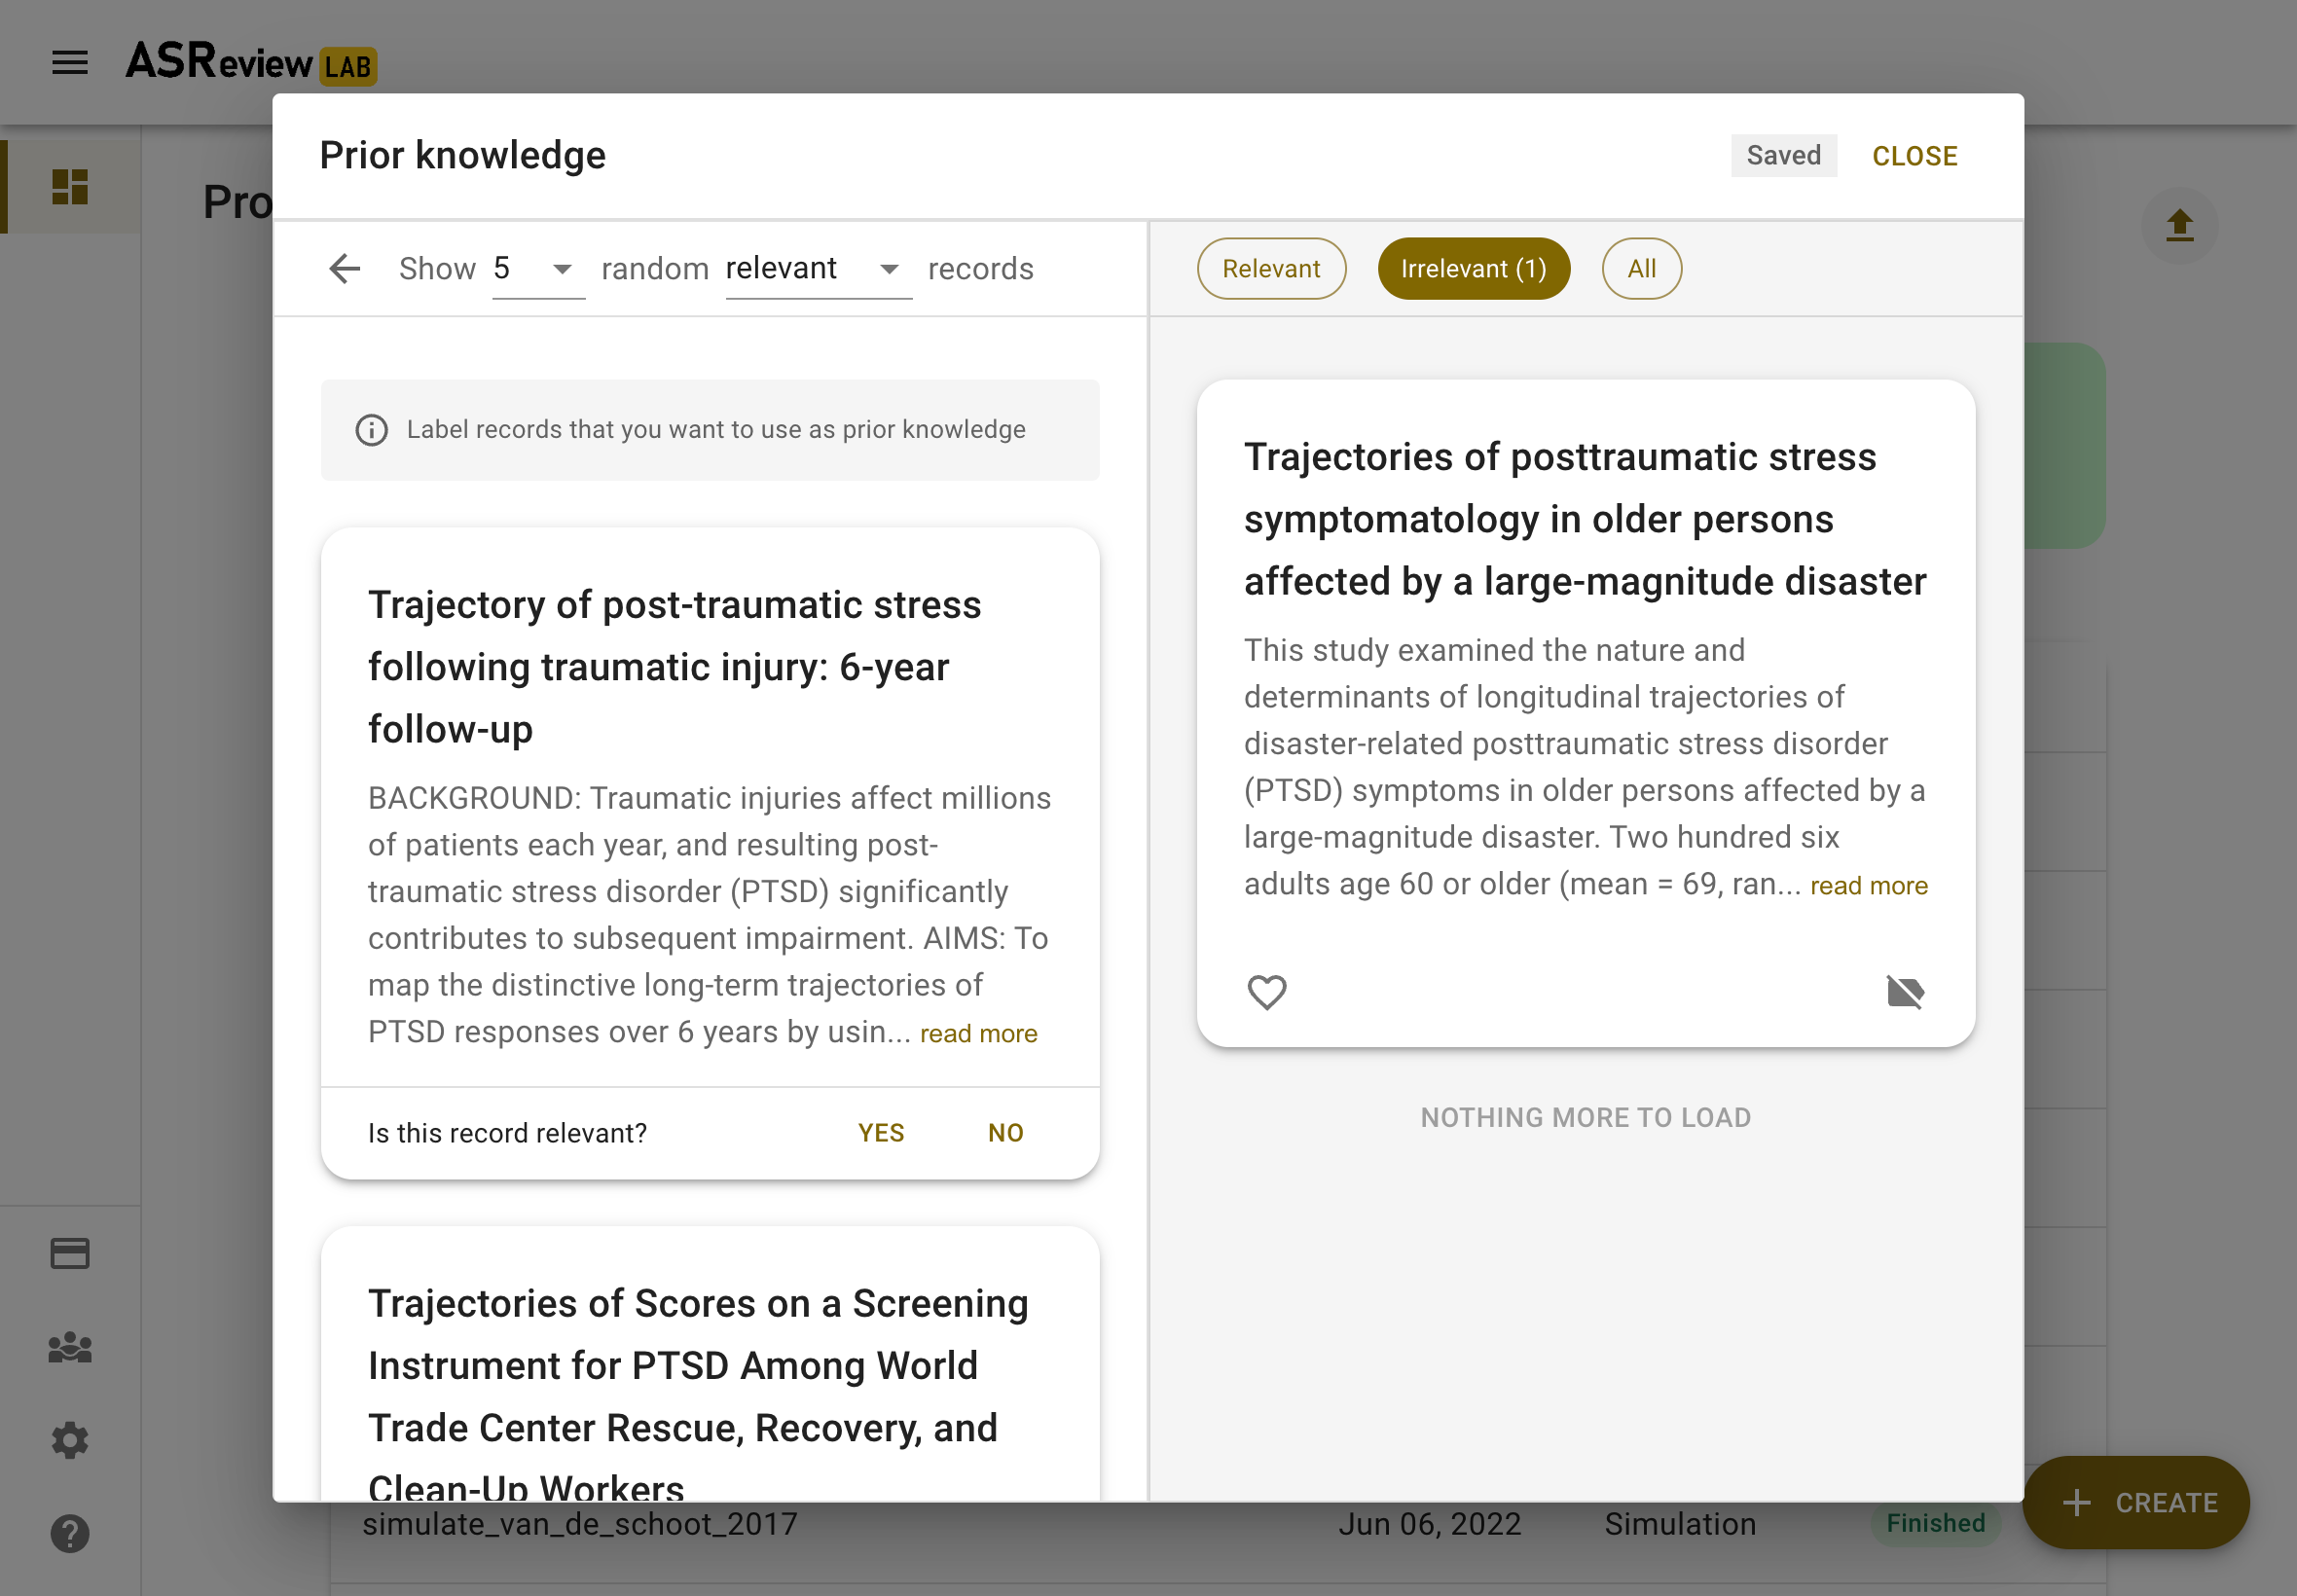
In the Validation mode when selecting random records, one can choose random records from the subset of initially labeled relevant, irrelevant or not seen records. The initial labels are displayed via a color-coded bar above each record.
Model
In the next step of the setup, you can select the active learning model. The default settings (Naïve Bayes, TF-IDF, Max) have fast and excellent performance. Most users can skip this step and click Next. More information about the active learning process can be found in the blog post Active learning explained,
Select model
It is possible to change the settings of the Active learning model. There are four settings that can be changed in the software:
Feature extraction
The feature extraction technique determines the method how text is translated into a vector that can be used by the classifier. The default is TF-IDF (Term Frequency-Inverse Document Frequency) from SKLearn. It works well in combination with Naive Bayes and other fast training models.
Another recommended option is Doc2Vec provided by the gensim package. Before starting ASReview LAB, first, install gensim:
pip install asreview[gensim]
Note
It takes relatively long to create a feature matrix with Doc2Vec, but this only has to be done once. The upside of this method is that it takes context into account. Also, a benefit is the dimension-reduction that generally takes place, which makes the modeling quicker.
Several other feature extractors are available in the software (sentence Bert, embedding IDF/LSTM) and more classifiers can be selected via the API, or added via Extensions.
Classifier
The classifier is the machine learning model used to compute the relevance scores. The default is Naive Bayes. Though relatively simplistic, it seems to work quite well on a wide range of datasets. Several other classifiers are available in the software (logistic regression, random forest, SVM, LSTM, neural net) and more classifiers can be selected via the API or added via Extensions.
The neural nets require tensorflow, use
pip install asreview[tensorflow]
Balancing Strategy
To decrease the class imbalance in the training data, the default is to rebalance the training set by a technique called dynamic resampling (DR) (Ferdinands et al., 2020). DR undersamples the number of irrelevant records in the training data, whereas the number of relevant records are oversampled such that the size of the training data remains the same. The ratio between relevant and irrelevant records in the rebalanced training data is not fixed, but dynamically updated and depends on the number of records in the available training data, the total number of records in the dataset, and the ratio between relevant and irrelevant records in the available training data. No balancing or undersampling are the other options. Other strategies can be selected via the API or added via Extensions.
Query Strategy
The query strategy determines which document is shown after the model has computed the relevance scores. The options are: maximum (certainty-based), uncertainty, random, and clustering. When certainty-based is selected, the documents are shown in the order of relevance score. The document most likely to be relevant is shown first. When mixed is selected, the next document will be selected certainty-based 95% of the time, and uncertainty based or randomly chosen otherwise. When random is selected, documents are shown in a random order (ignoring the model output completely). Other strategies can be selected via the API or added via Extensions.
Warning
Selecting random means your review will not be accelerated by using ASReview.
Model switching
During the screening phase, it is not possible to change the model. However, it is possible to select a first model, screen part of the data, and export the dataset with the labeling decisions of the first model. This partly-labeled dataset can be imported into a new project and the labels based on the first model will be recognized as prior knowledge. Then, a second model can be trained on the partly-labeled data, and the new predictions will be based on the second model.
Tip
It is suggested to screen with a simple active learning model (e.g., the defaults) first until you reach your stopping criteria, then switch to a different model (e.g., doc2vec plus a neural net) and screen again until you reach your stopping criteria.
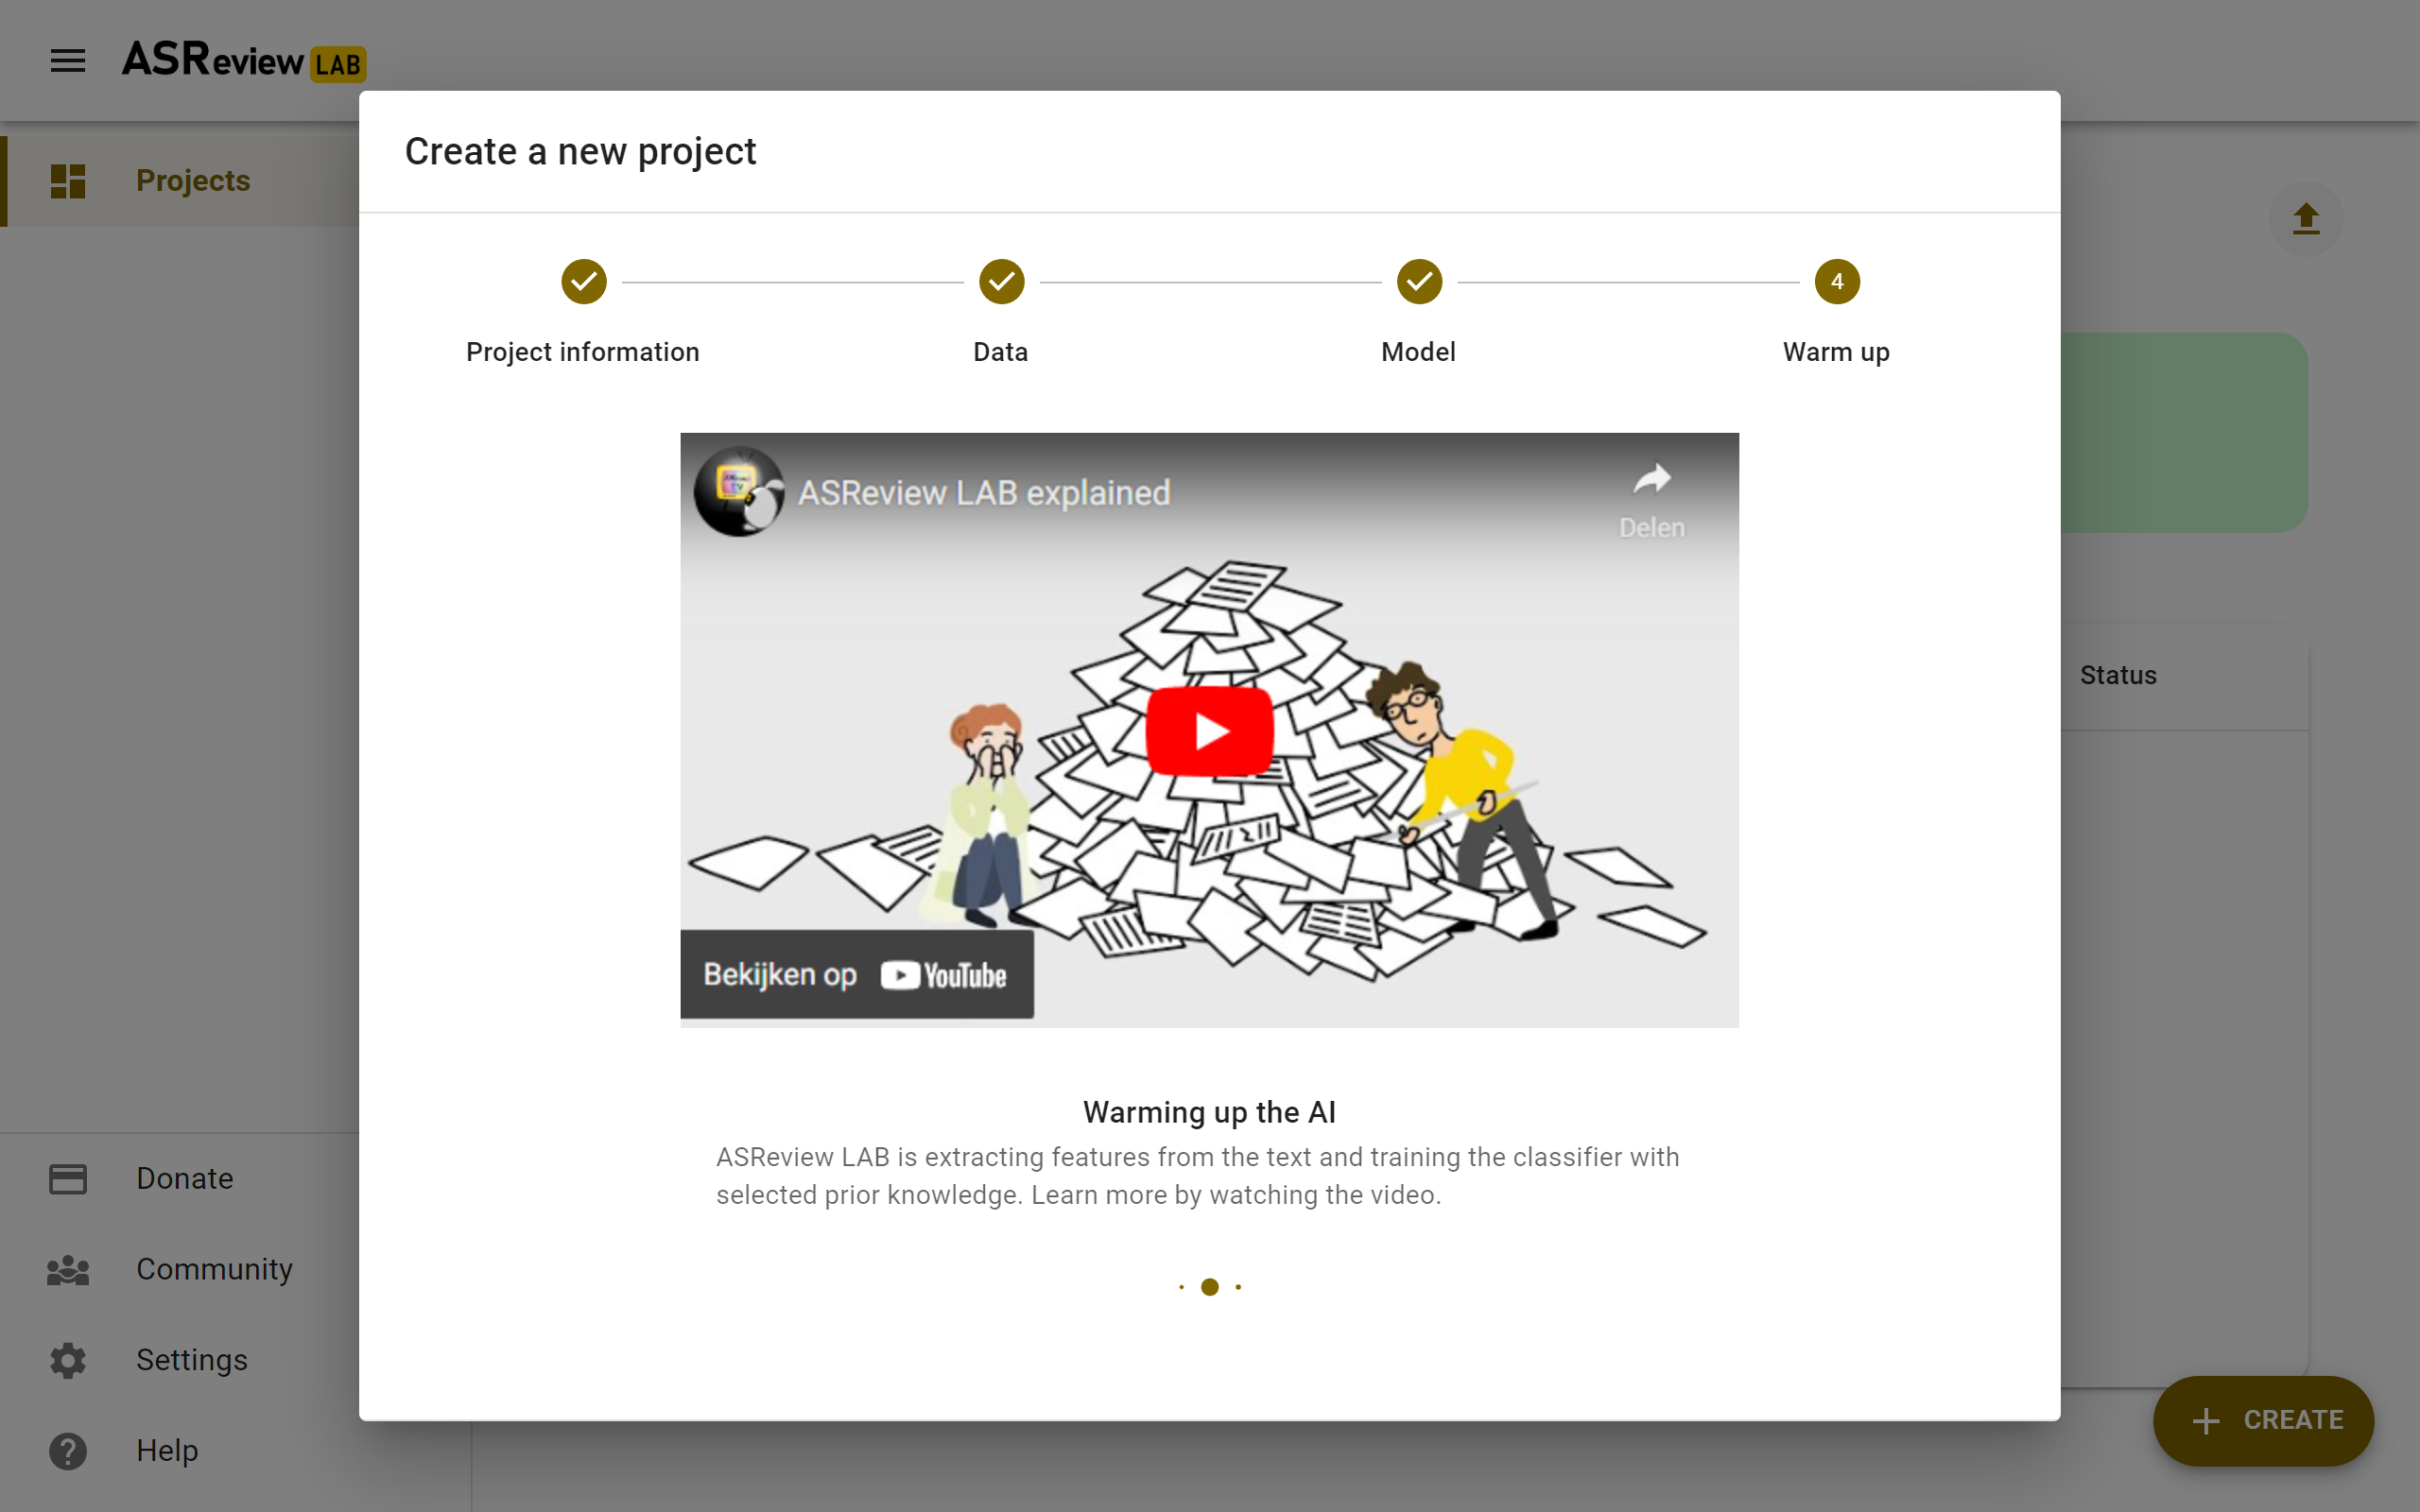
Warm up
In the last step of the setup, step 4, ASReview LAB runs the feature extractor and trains a model, and ranks the records in your dataset. Depending on the model and the size of your dataset, this can take a couple of minutes (or even longer; you can enjoy the animation video). After the project is successfully initialized, you can start reviewing.
Note
In Simulation mode, this step starts the simulation. As simulations usually take longer to complete, the simulation will run in the background. After a couple of seconds, you will see a message and a button “Got it”. You will navigate to the Analytics page, where you can follow the progress (see Refresh button on the top right)