Simulate via the webapp
To run a simulation in the ASReview webapp, create a project as described in Create a project. Most of the steps of the setup are identical or straightforward. In this section, some of the differences are highlighted.
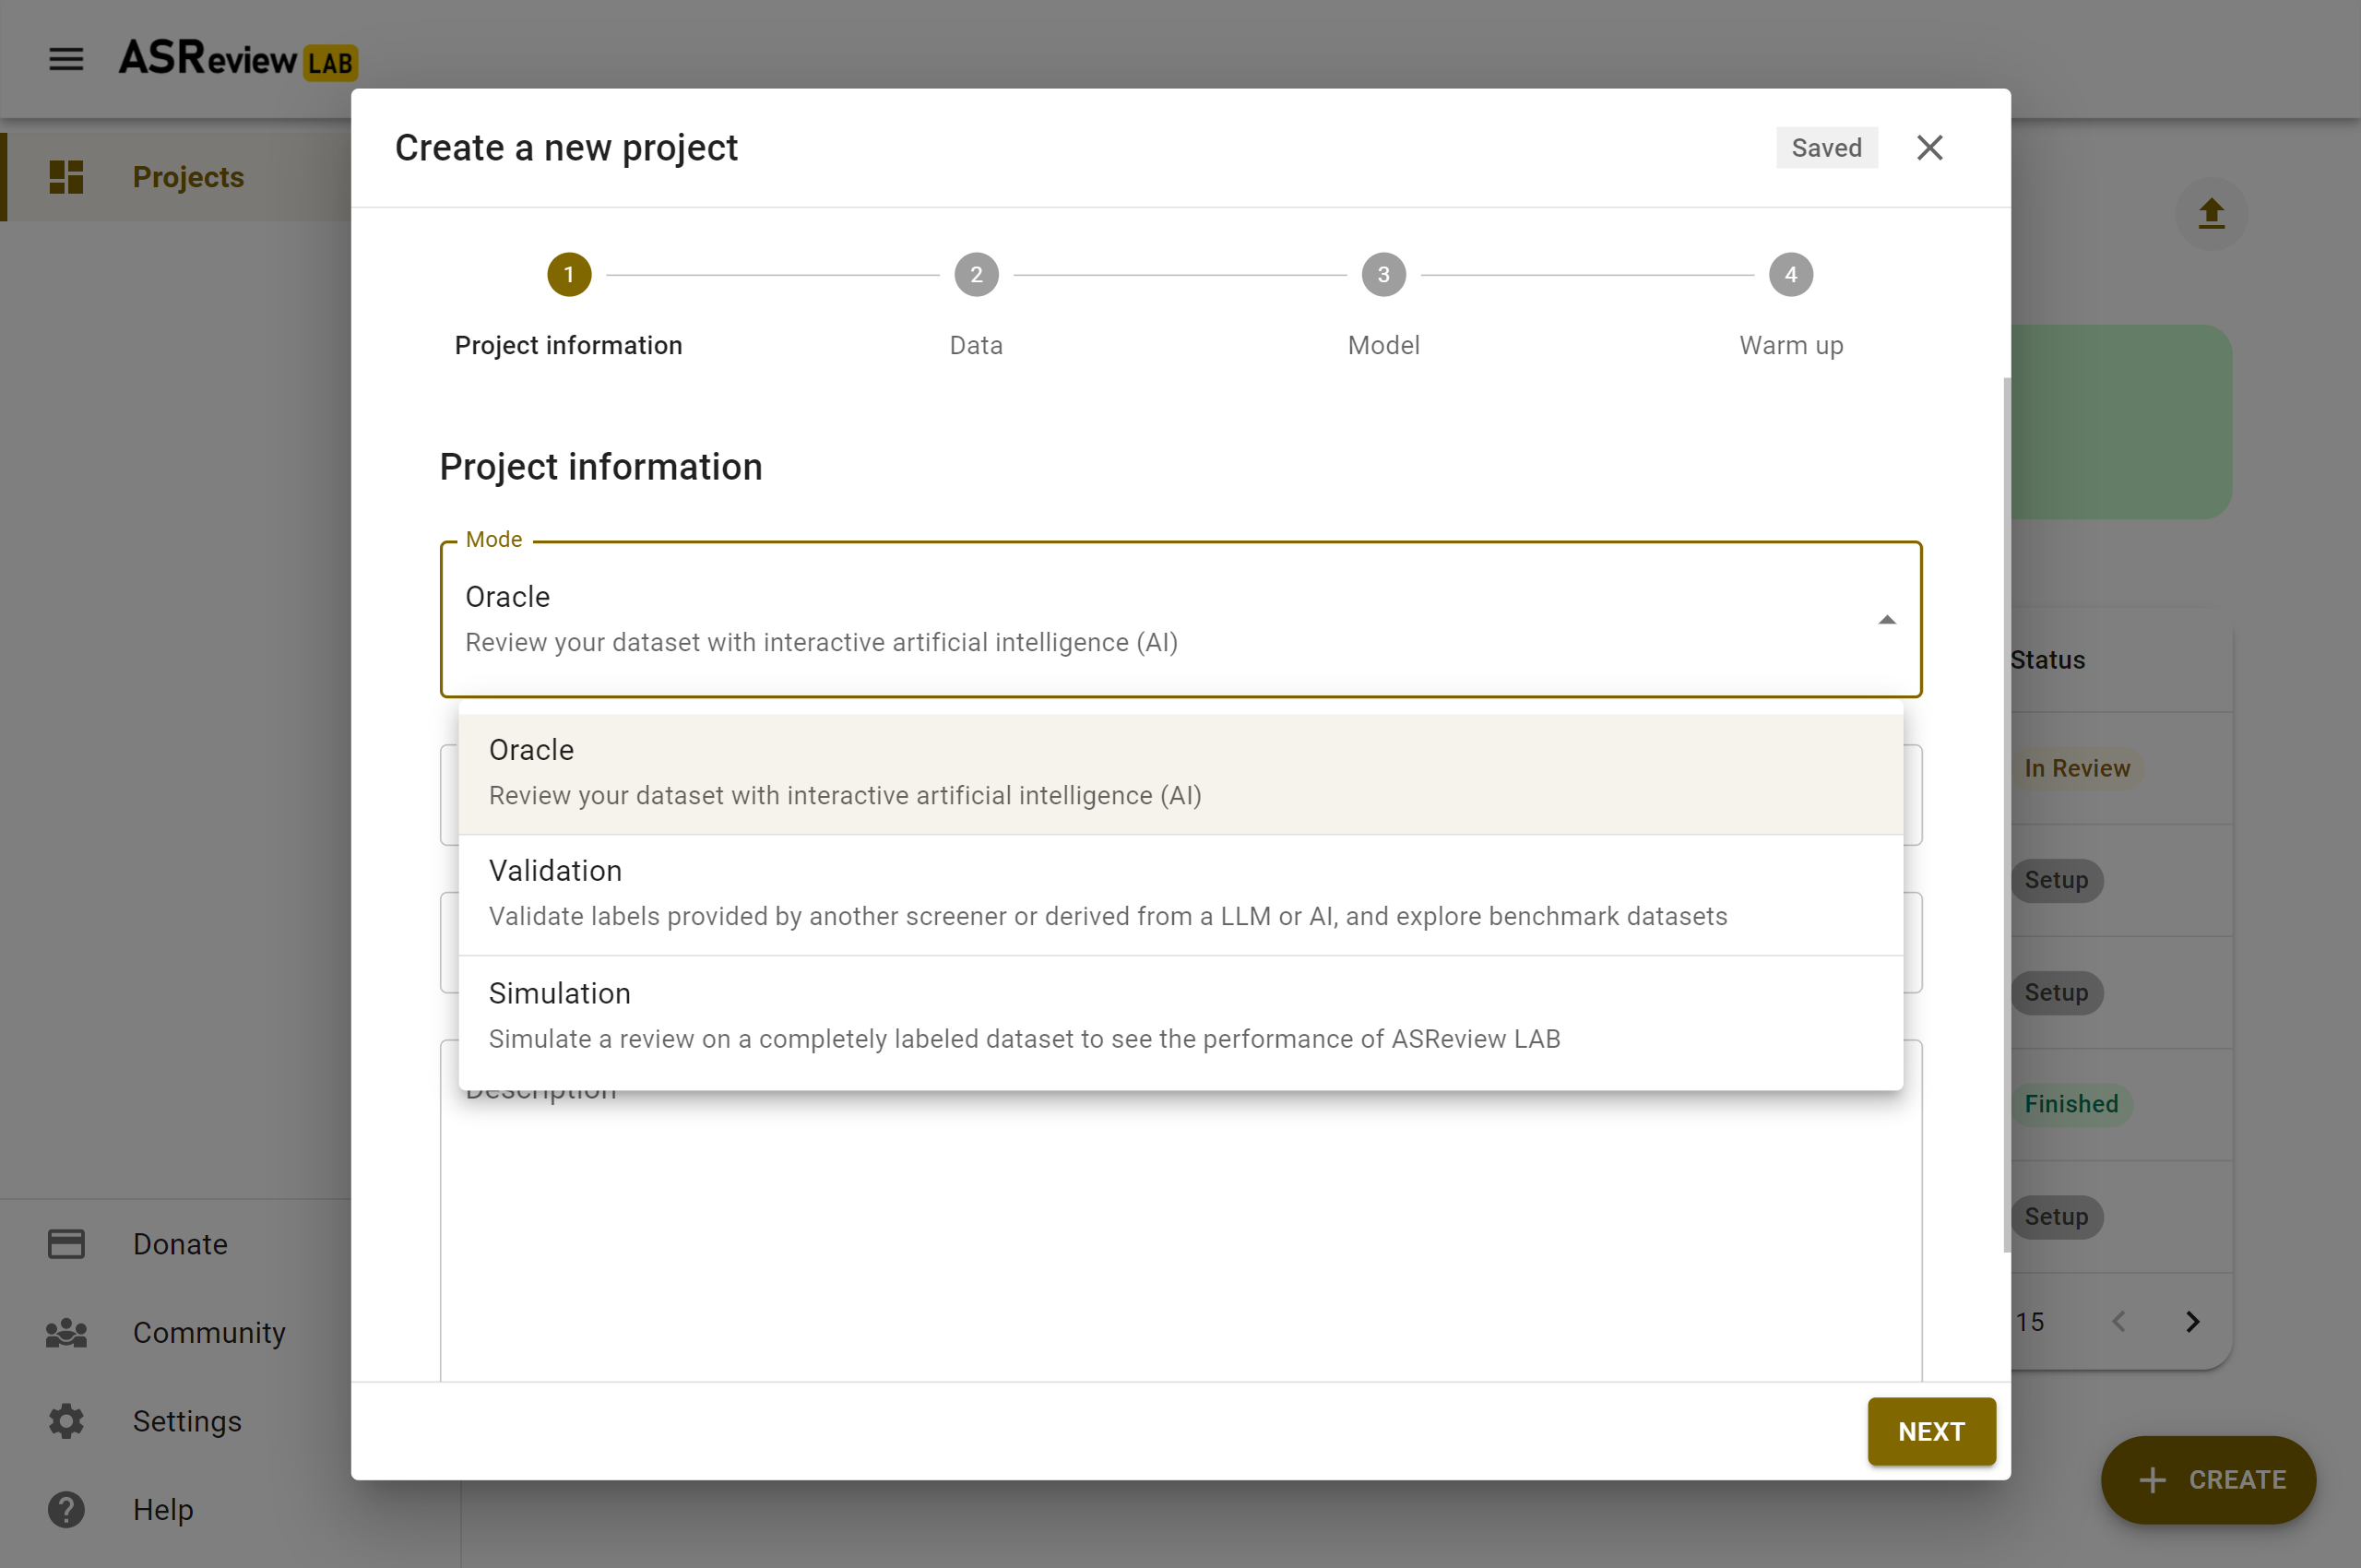
In the step on Project Information, select the “Simulation” mode (see figure below).
In the step Data, import a fully labeled dataset or use one of the benchmark datasets.
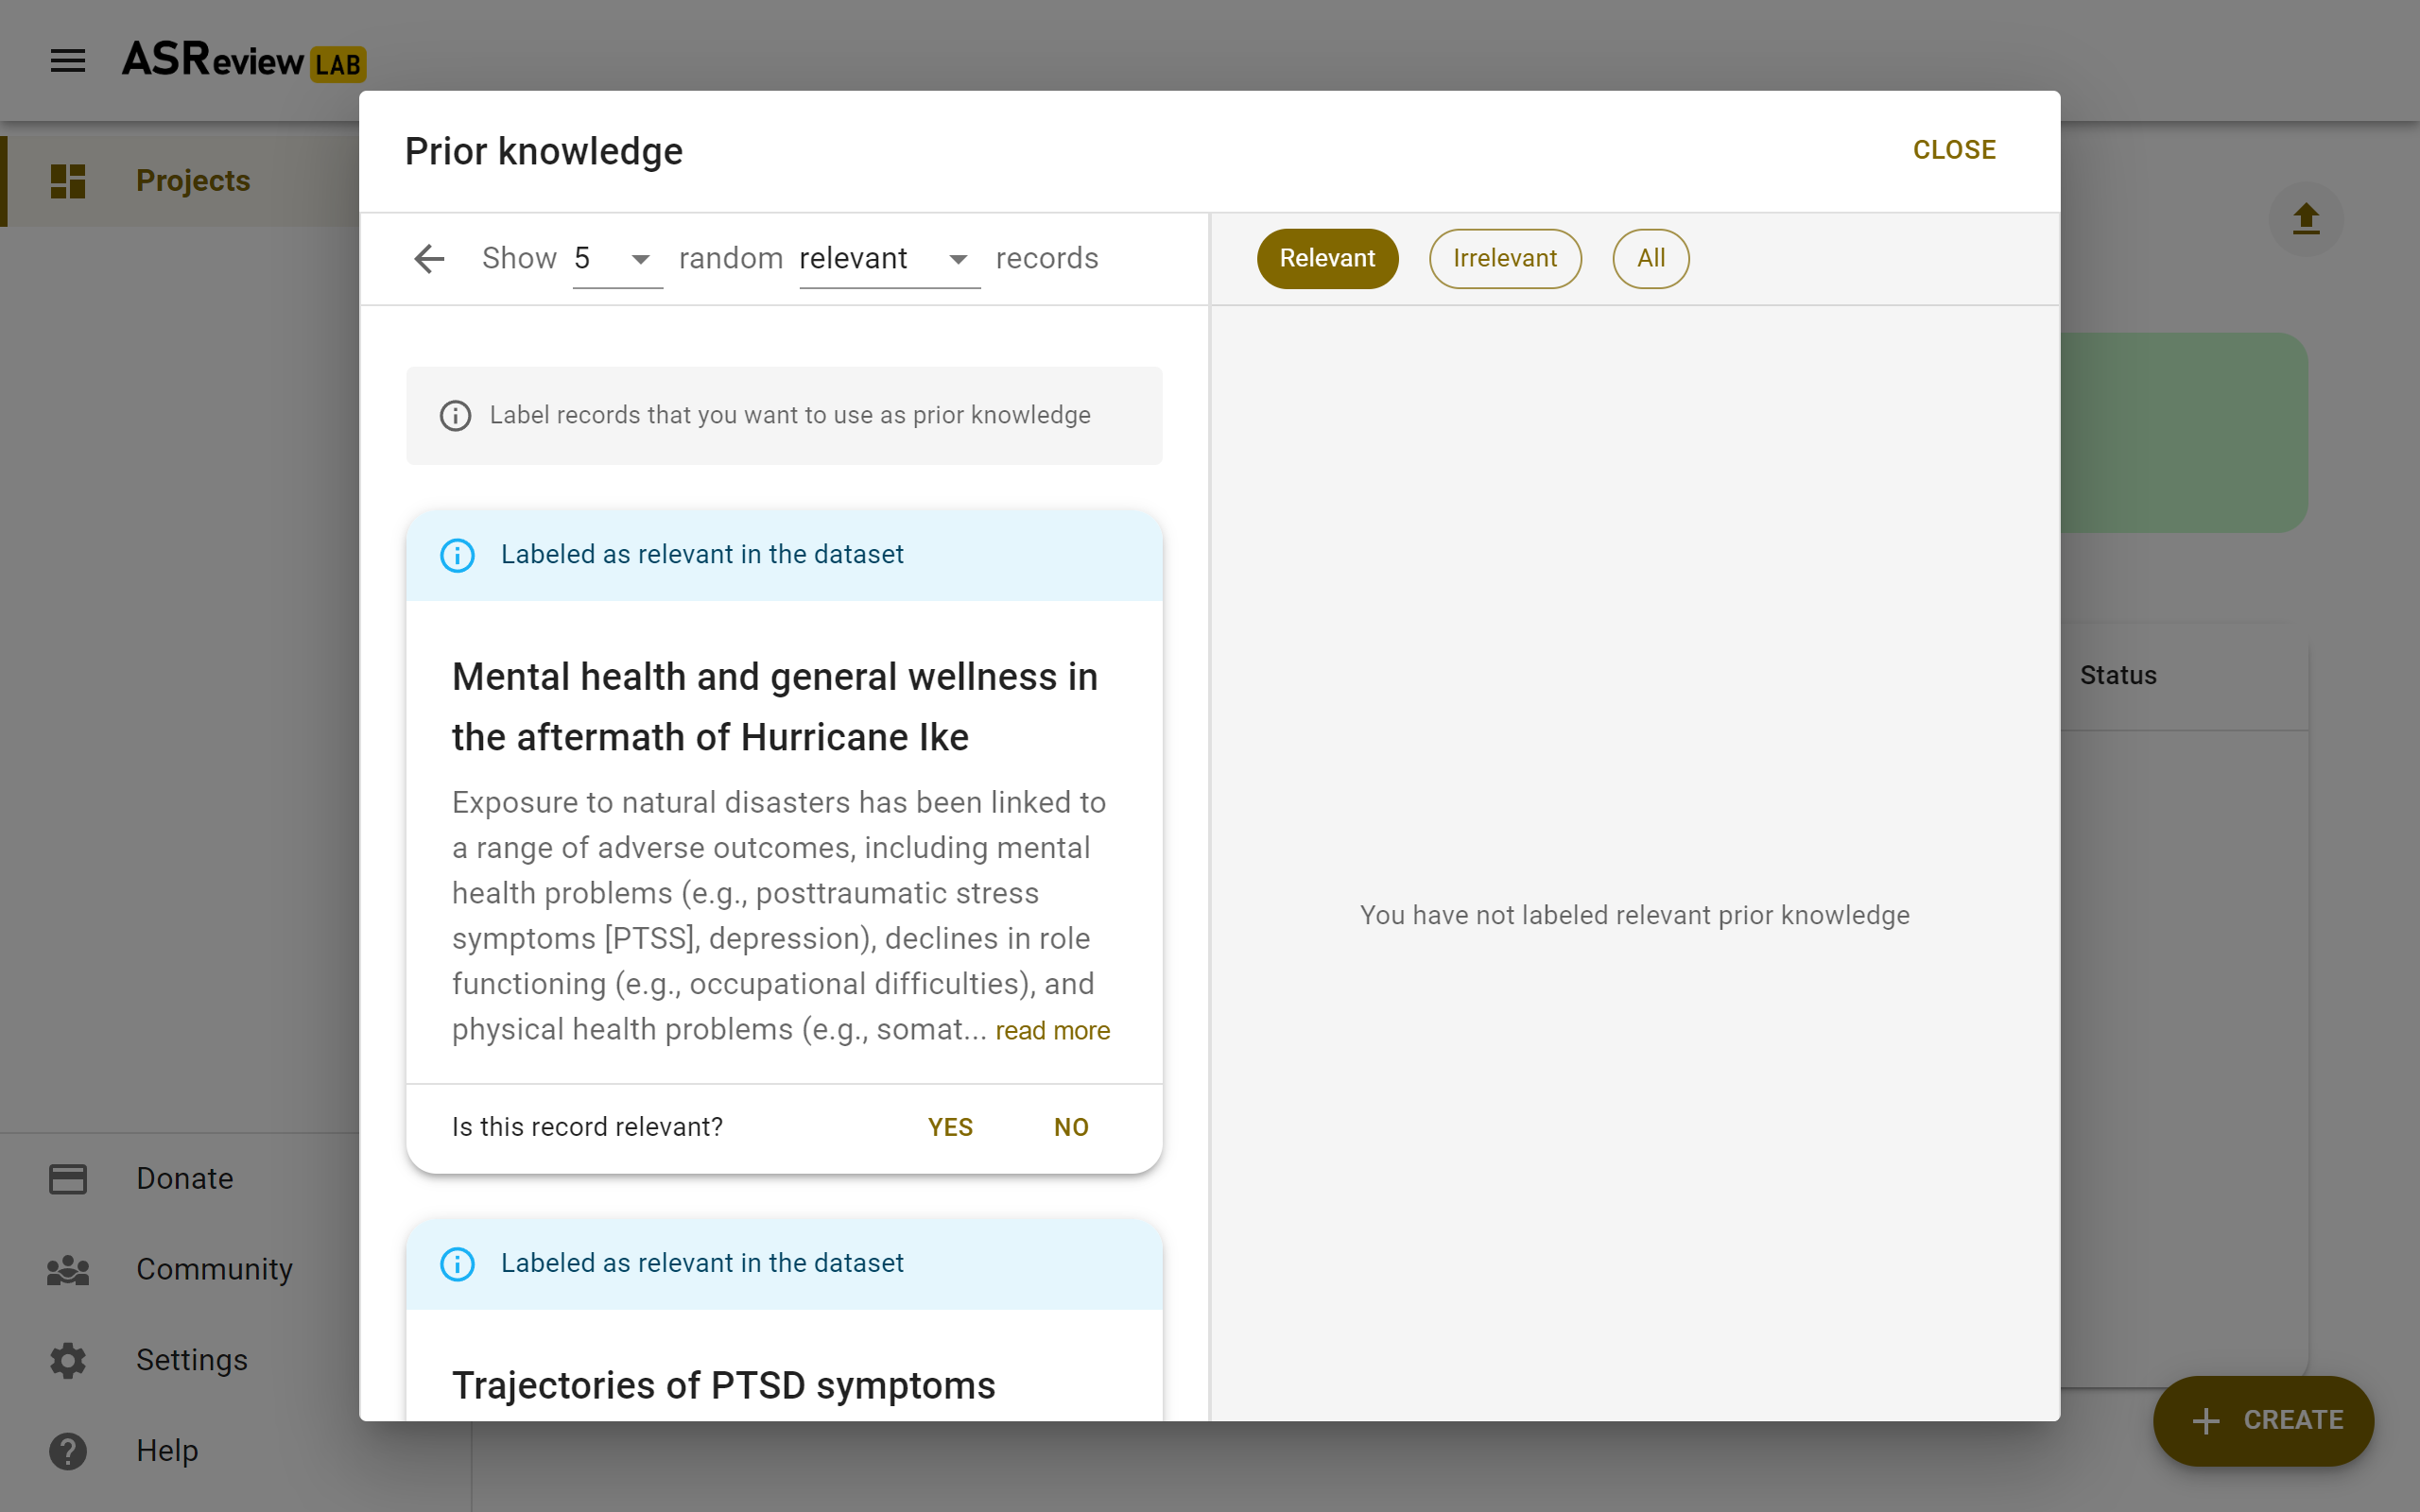
Selecting prior knowledge is relatively easy. In case you know relevant records to start with, use the search function. In case you don’t, use the Random option. Toggle the button “Relevant” on top to see some random irrelevant records. Label some relevant and some irrelevant records.
The step Warm up is differs slightly from the Oracle and Validation mode. This step starts the simulation, after some seconds, it will return “Got it”. This means, the simulation runs further in the background. You are returned to the Analytics page.
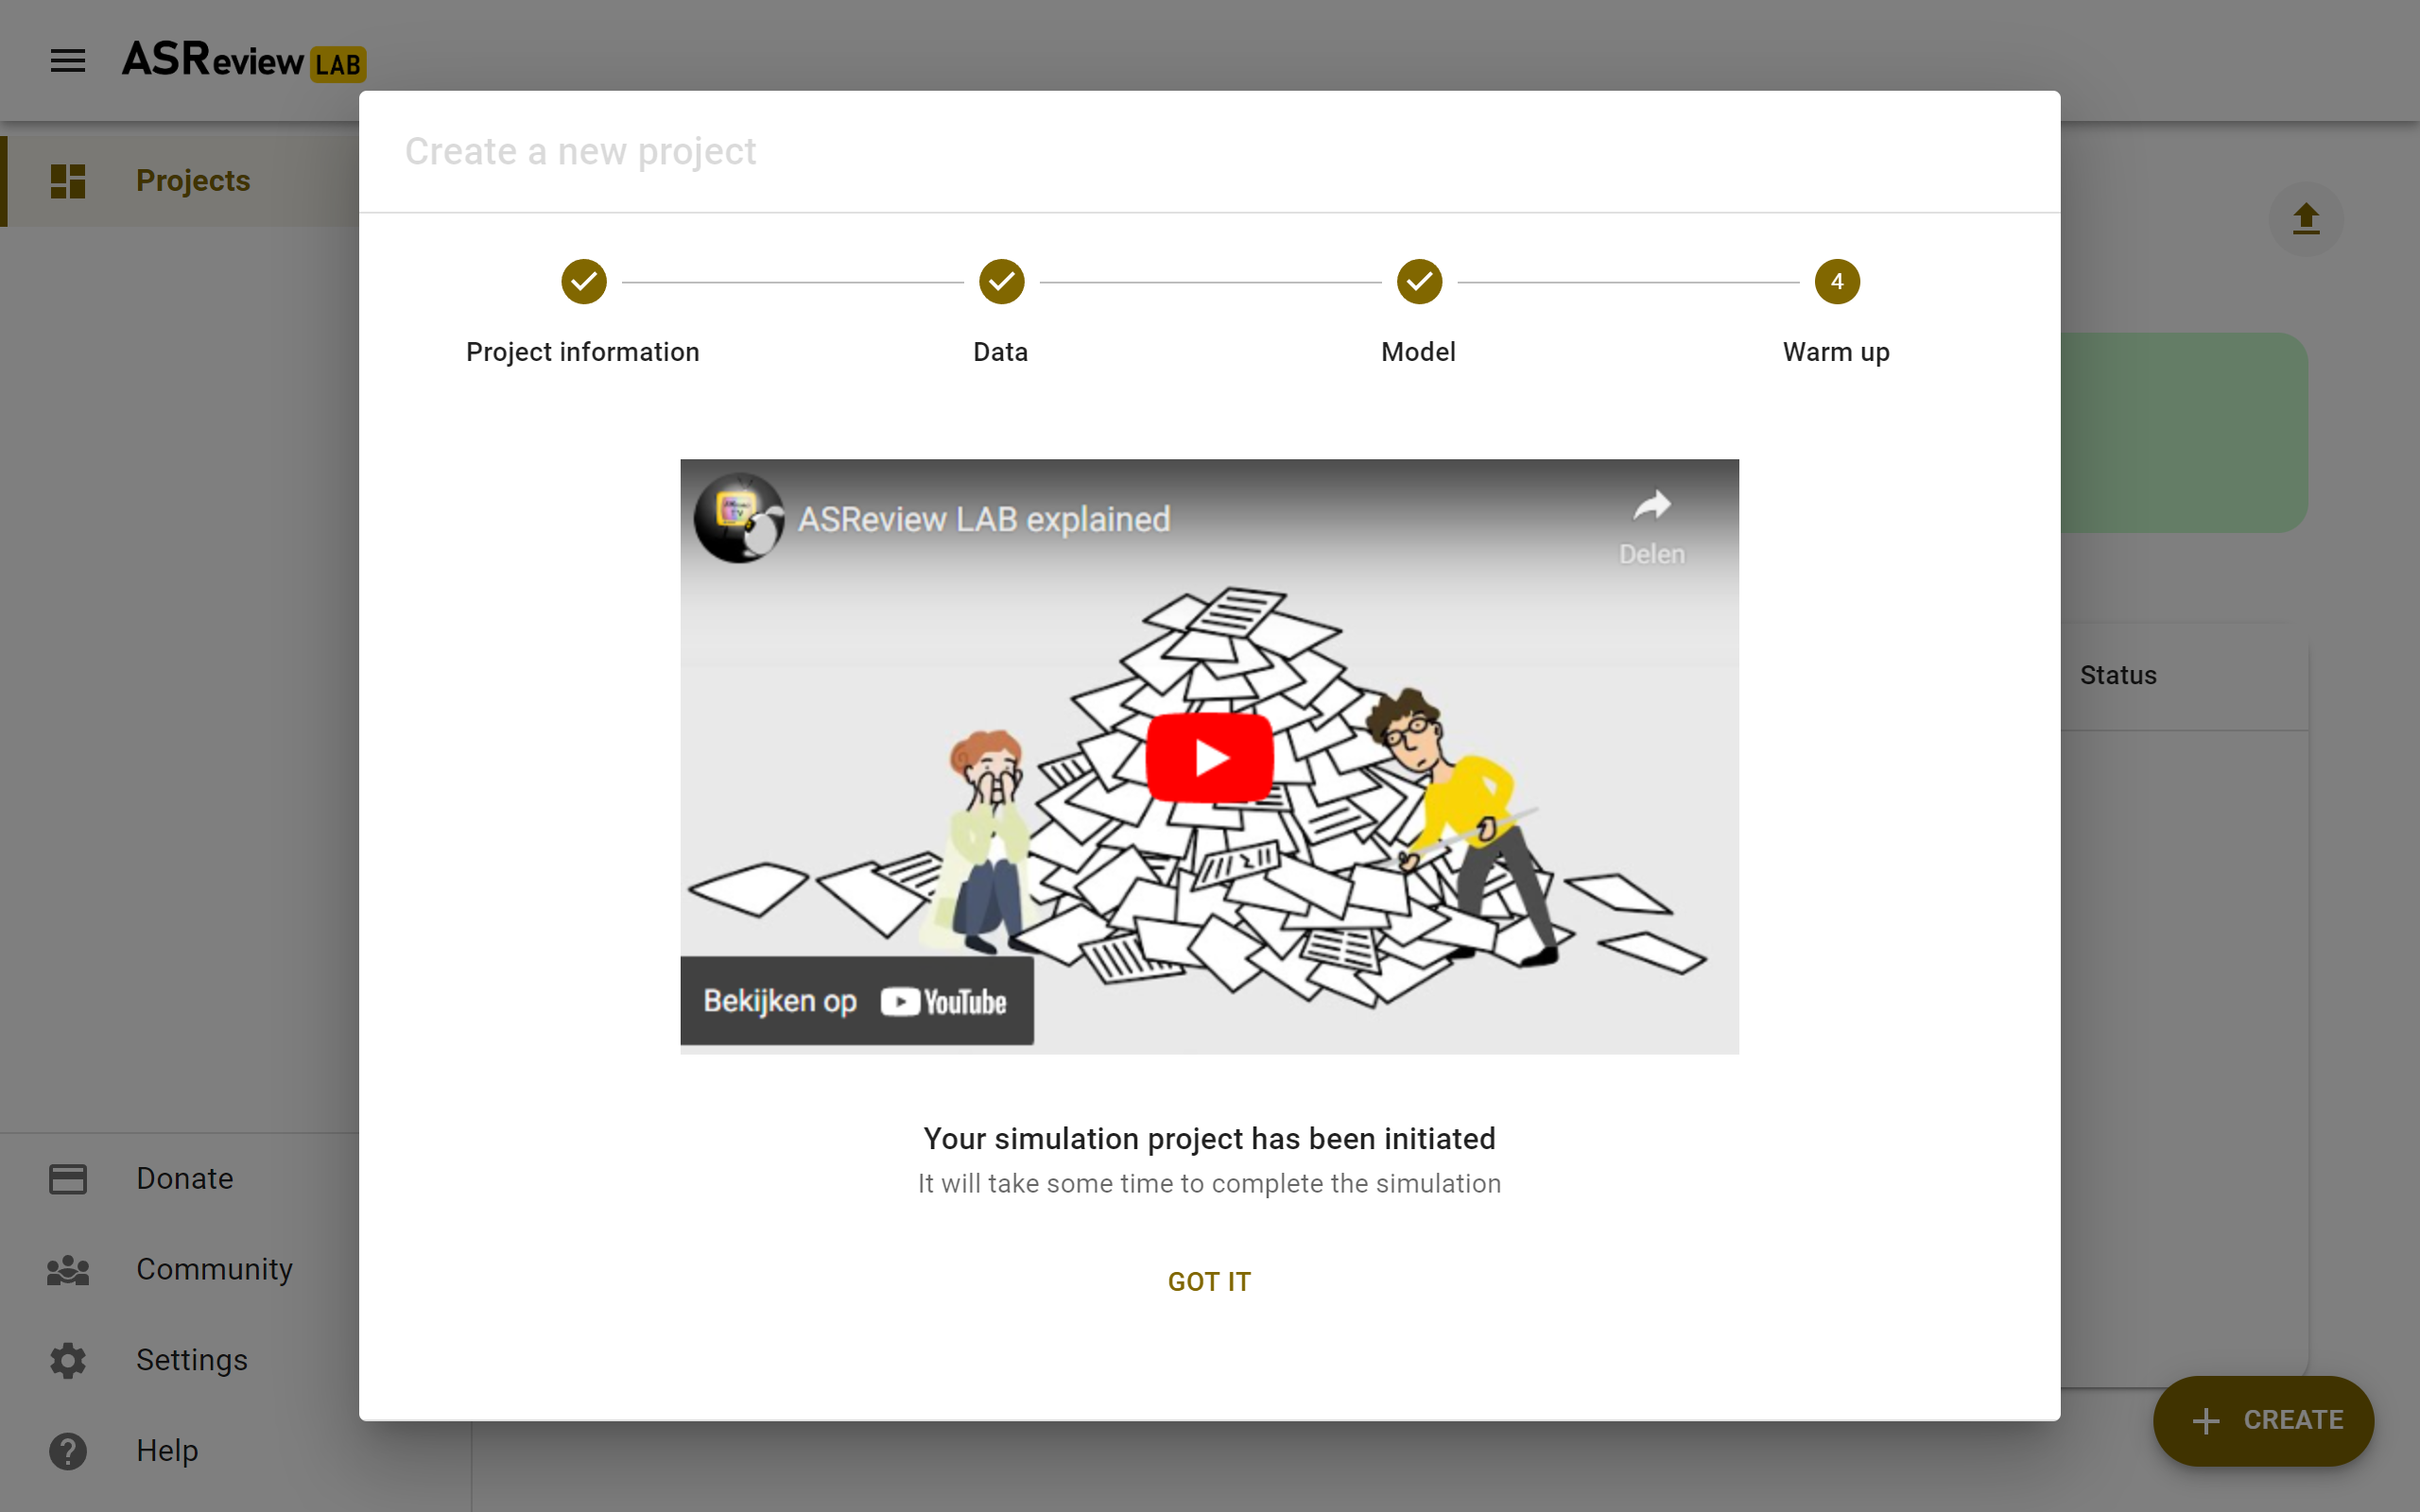
This page now has a refresh button on the top right. If the simulation is not finished yet, you can refresh the page or use the refresh button to follow the progress. After a while, the Elas mascot on the left will hold a sign with “finished”. Your simulation is now finished and you can study the results in the analytics page.